
gluten-free waffle cones
/
GLUTEN-FREE WAFFLE CONES
SKIP TO RECIPE
Did you know that my son is 8-years old and he's NEVER had a waffle cone before? To be honest, I don't think he is that broken up about it, but a part of me is annoyed every time we go to an ice cream shop and either have to bring our own tasteless gf wafer cone or opt for a cup. Mind you, he doesn't care... but I do. Soooo, when I got into making ice cream last year, I was lucky enough to get a waffle cone maker for my birthday. And, finally, nearly a year later, I pulled it out of the box and used it. And, I don't know what took me so long. The smell in my kitchen is amazing and it's almost magical how easy these cones are to make.
Oh, yeah.. and my son? After eating two cones plain, he can't wait to fill one with ice cream later tonight for dessert.
This recipe is adapted from my favorite gluten-free blogger, Silvana Nardone's cookbook "Cooking for Isaiah." I hope you like it.


Gluten-Free Waffle Cones, (makes 12-14)
- 1.75 cups gluten-free flour
- 2 tsps baking powder
- 1/2 tsp ground cinnamon
- 3 large eggs
- 3/4 cup granulated sugar
- 1/2 cup vegetable oil
- 1 tsp pure vanilla extract
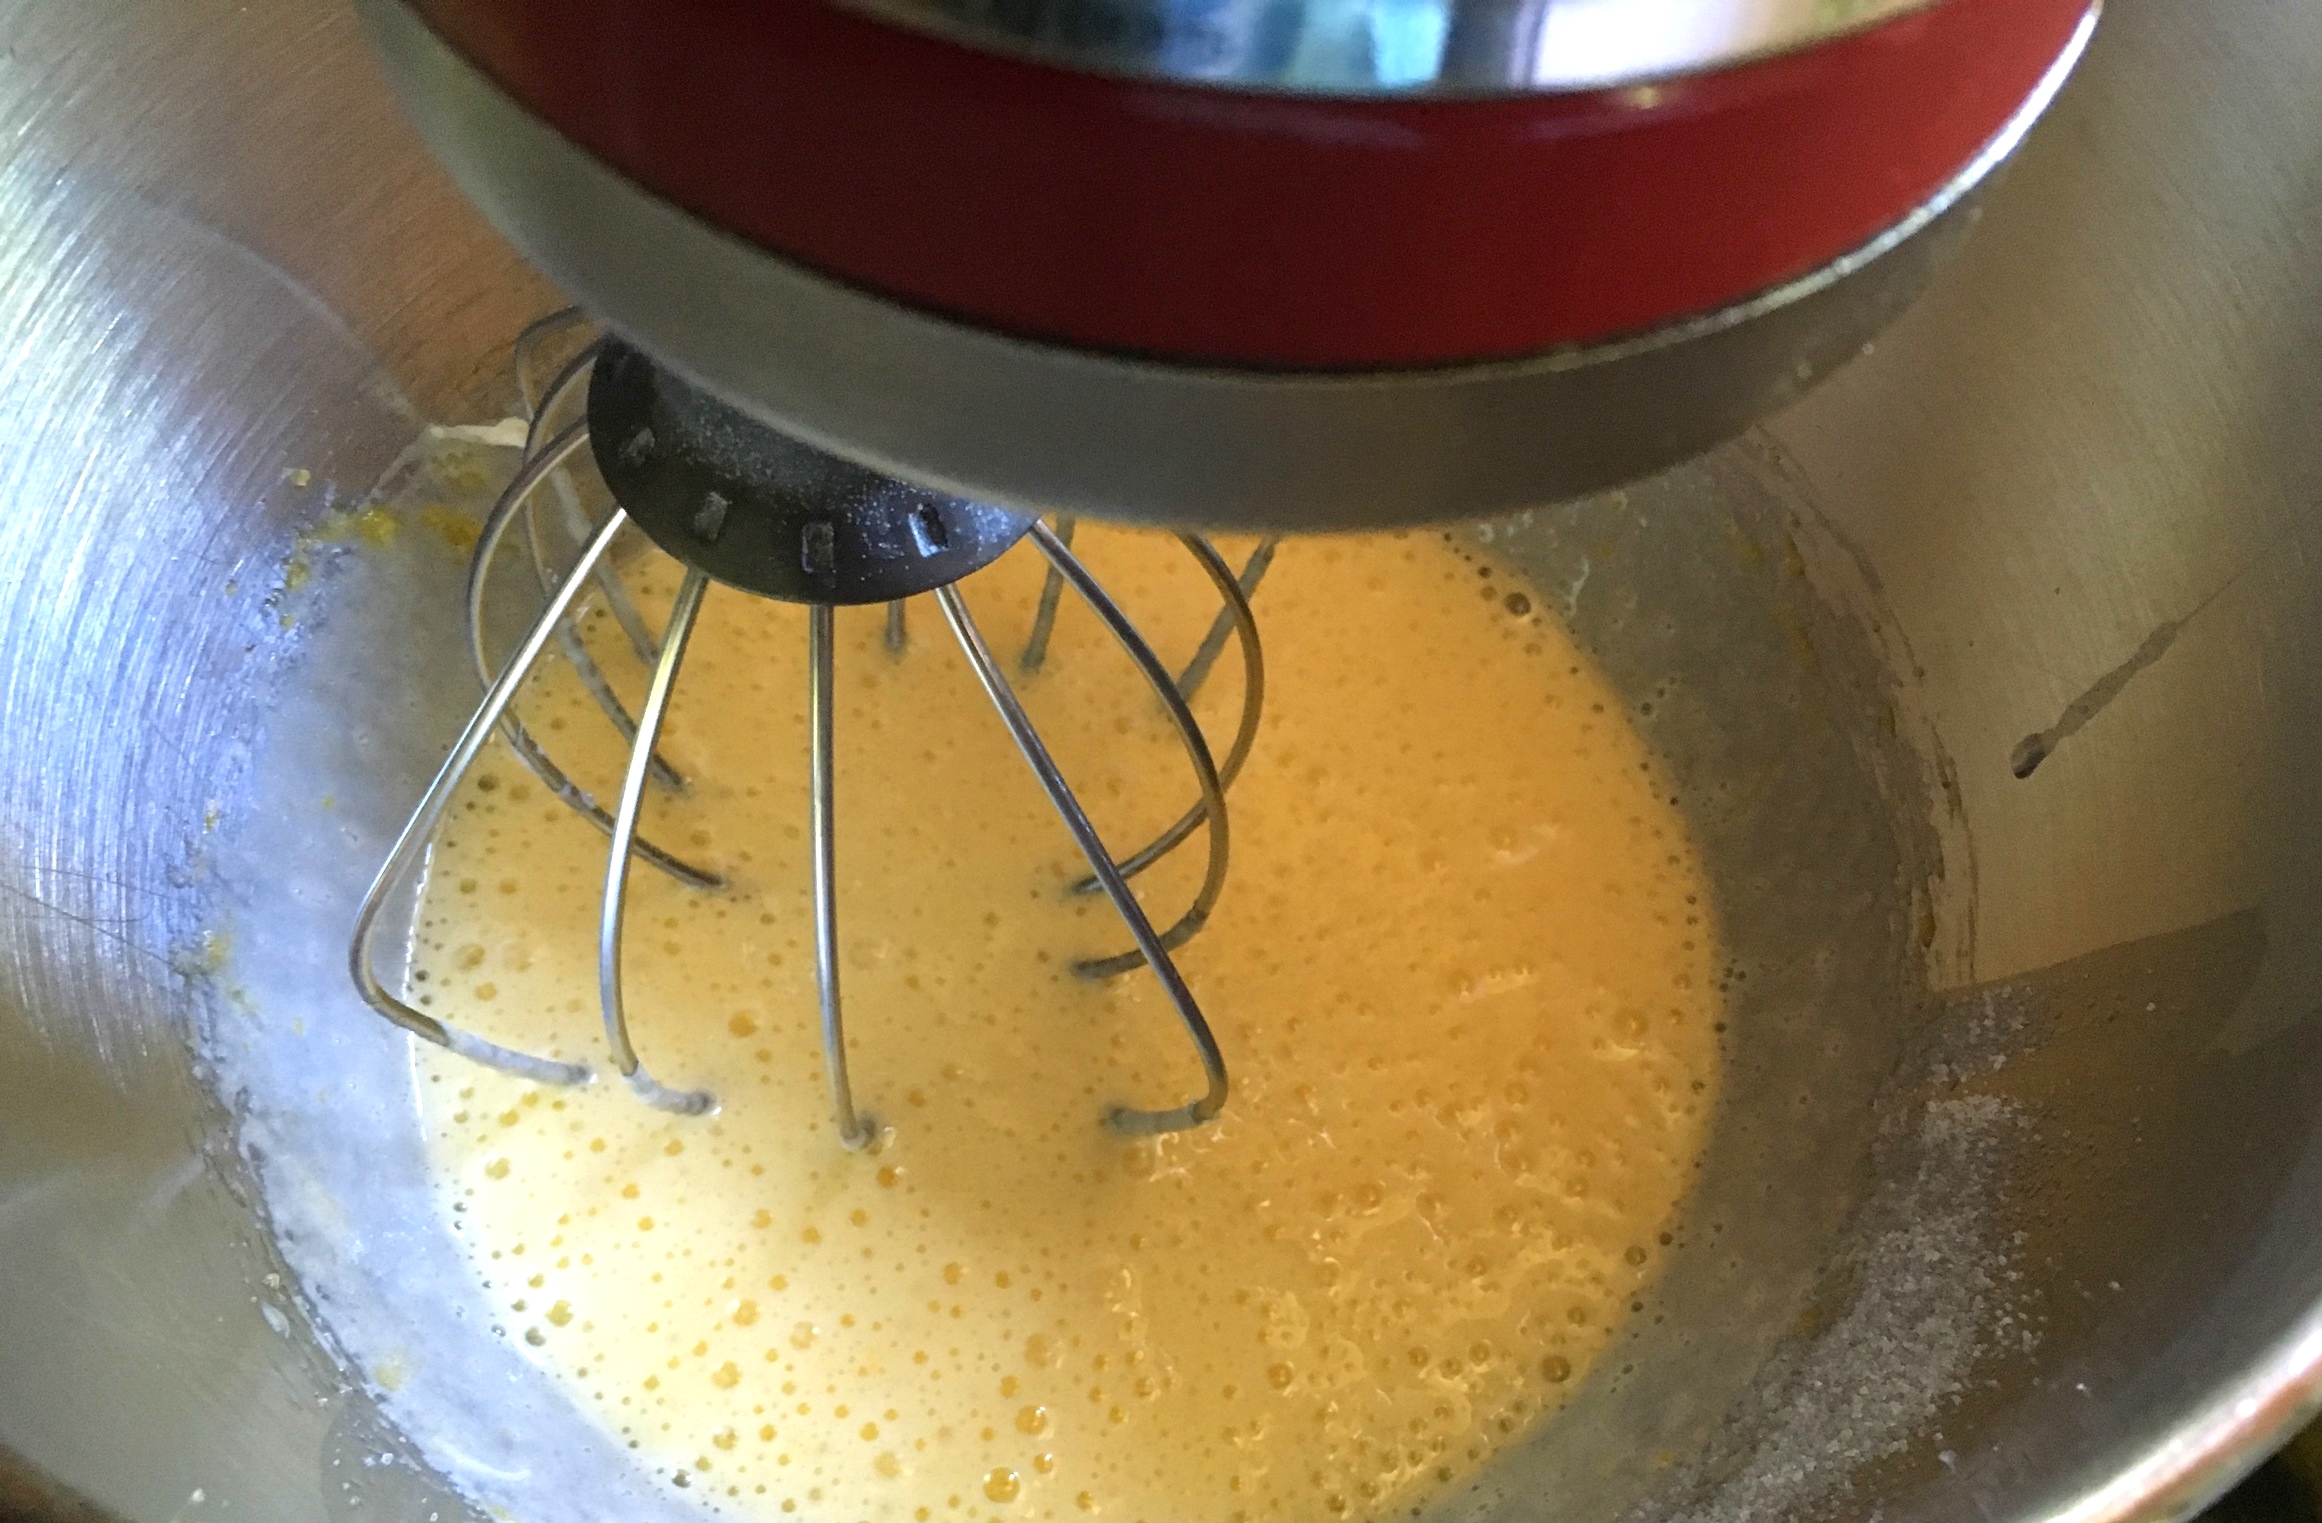
Add the eggs and granulated sugar to the bowl of your stand mixer. Using the whisk attachment, blend the eggs and sugar together until light and foamy. While your mixer is working, whisk together the flour, baking powder and cinnamon in a separate bowl. Once your egg mixture is light and foamy, stir in the vegetable oil and vanilla extract. Then, using a spatula, gently fold in the flour mixture just until combined.
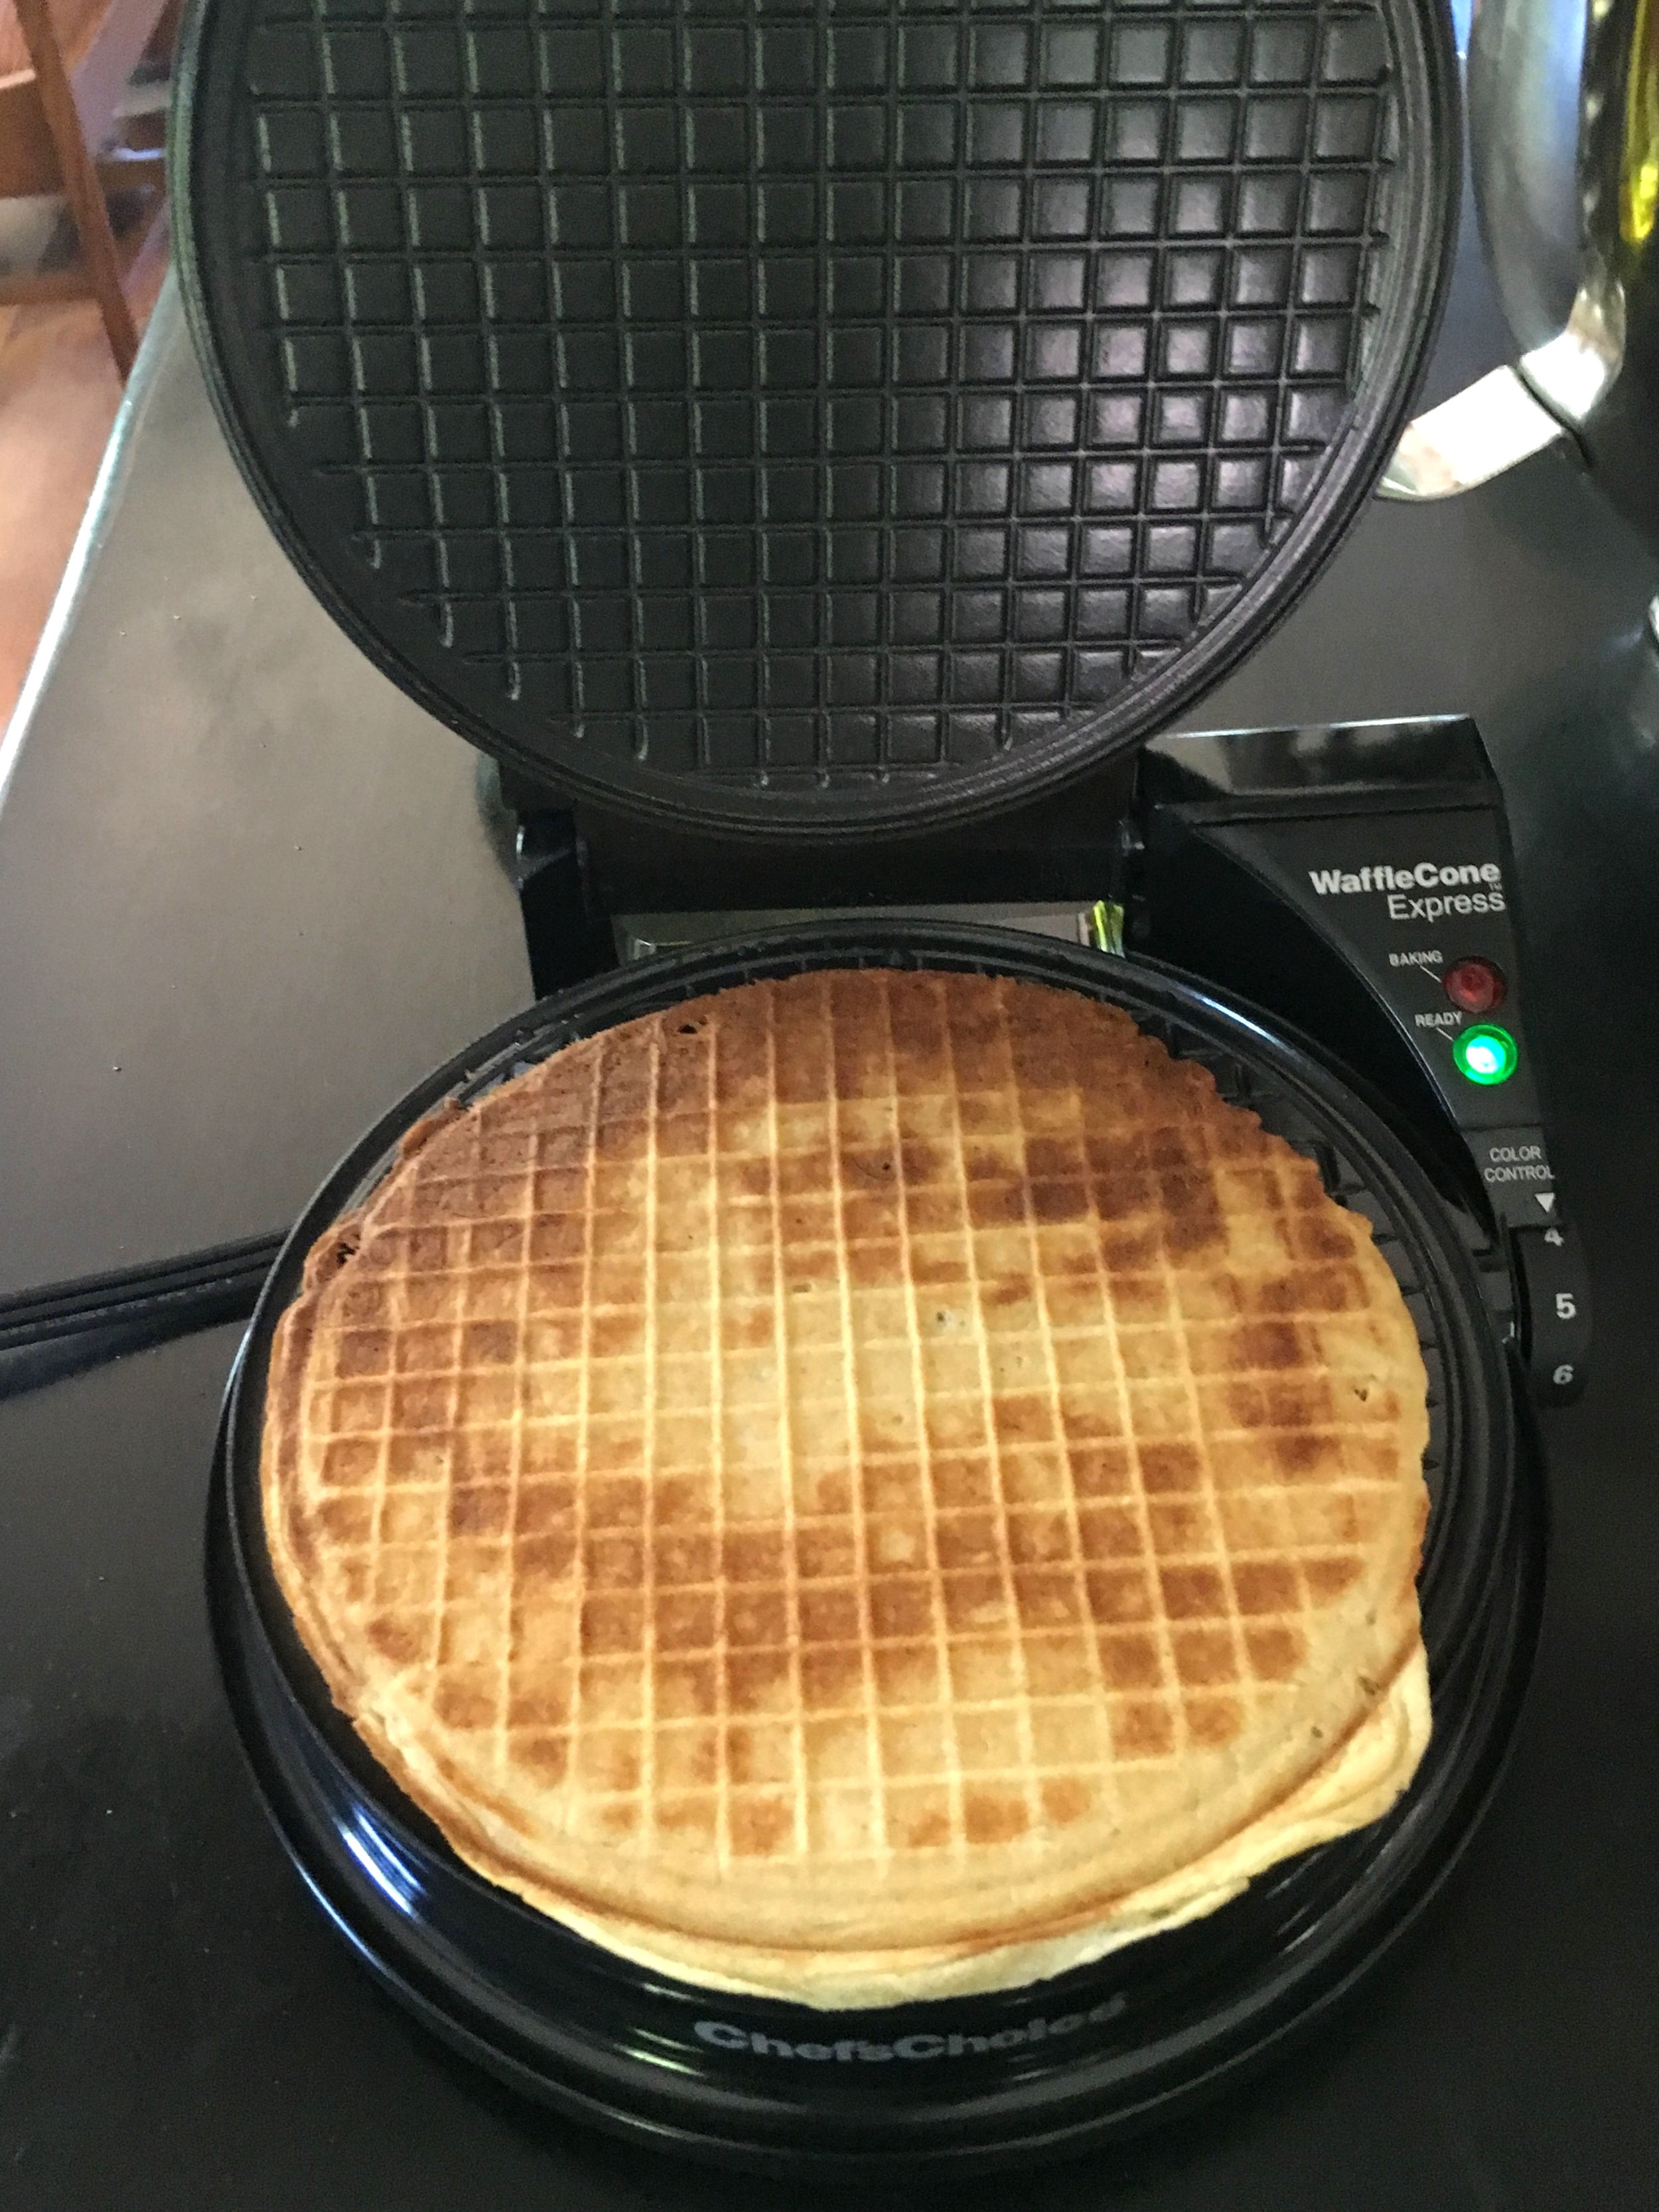
Lightly grease your waffle cone machine with vegetable oil spray, set it to somewhere between 3 and 4, and start the iron pre-heating. Once it is pre-heated, add approximately 2 tablespoons of batter to the middle of the iron and press your machine closed... all the way closed. I found that my waffle cones cooked more evenly and spread out fully when I clicked the iron closed. Wait about 60-75 seconds and open your iron back up. Remove the waffle to a dry clean towel. Roll the waffle around the cone shaper that comes with your iron and pinch the bottom closed. Use the dry kitchen towel to help with wrapping if the waffle is too hot to touch. Wait about 10 seconds and open up the towel. Voila! You have a cone shaped waffle... or, if you a prefer, a waffle cone!
Keep in mind that every waffle cone maker is different. Just like when you make pancakes or regular waffles, you'll have to experiment with timing, the amount of batter, and the iron's setting to get the waffle cone "just so." But, don't worry, even the mistakes taste delicious, too!