

gluten-free mini banana muffins
/
gluten free mini banana muffins
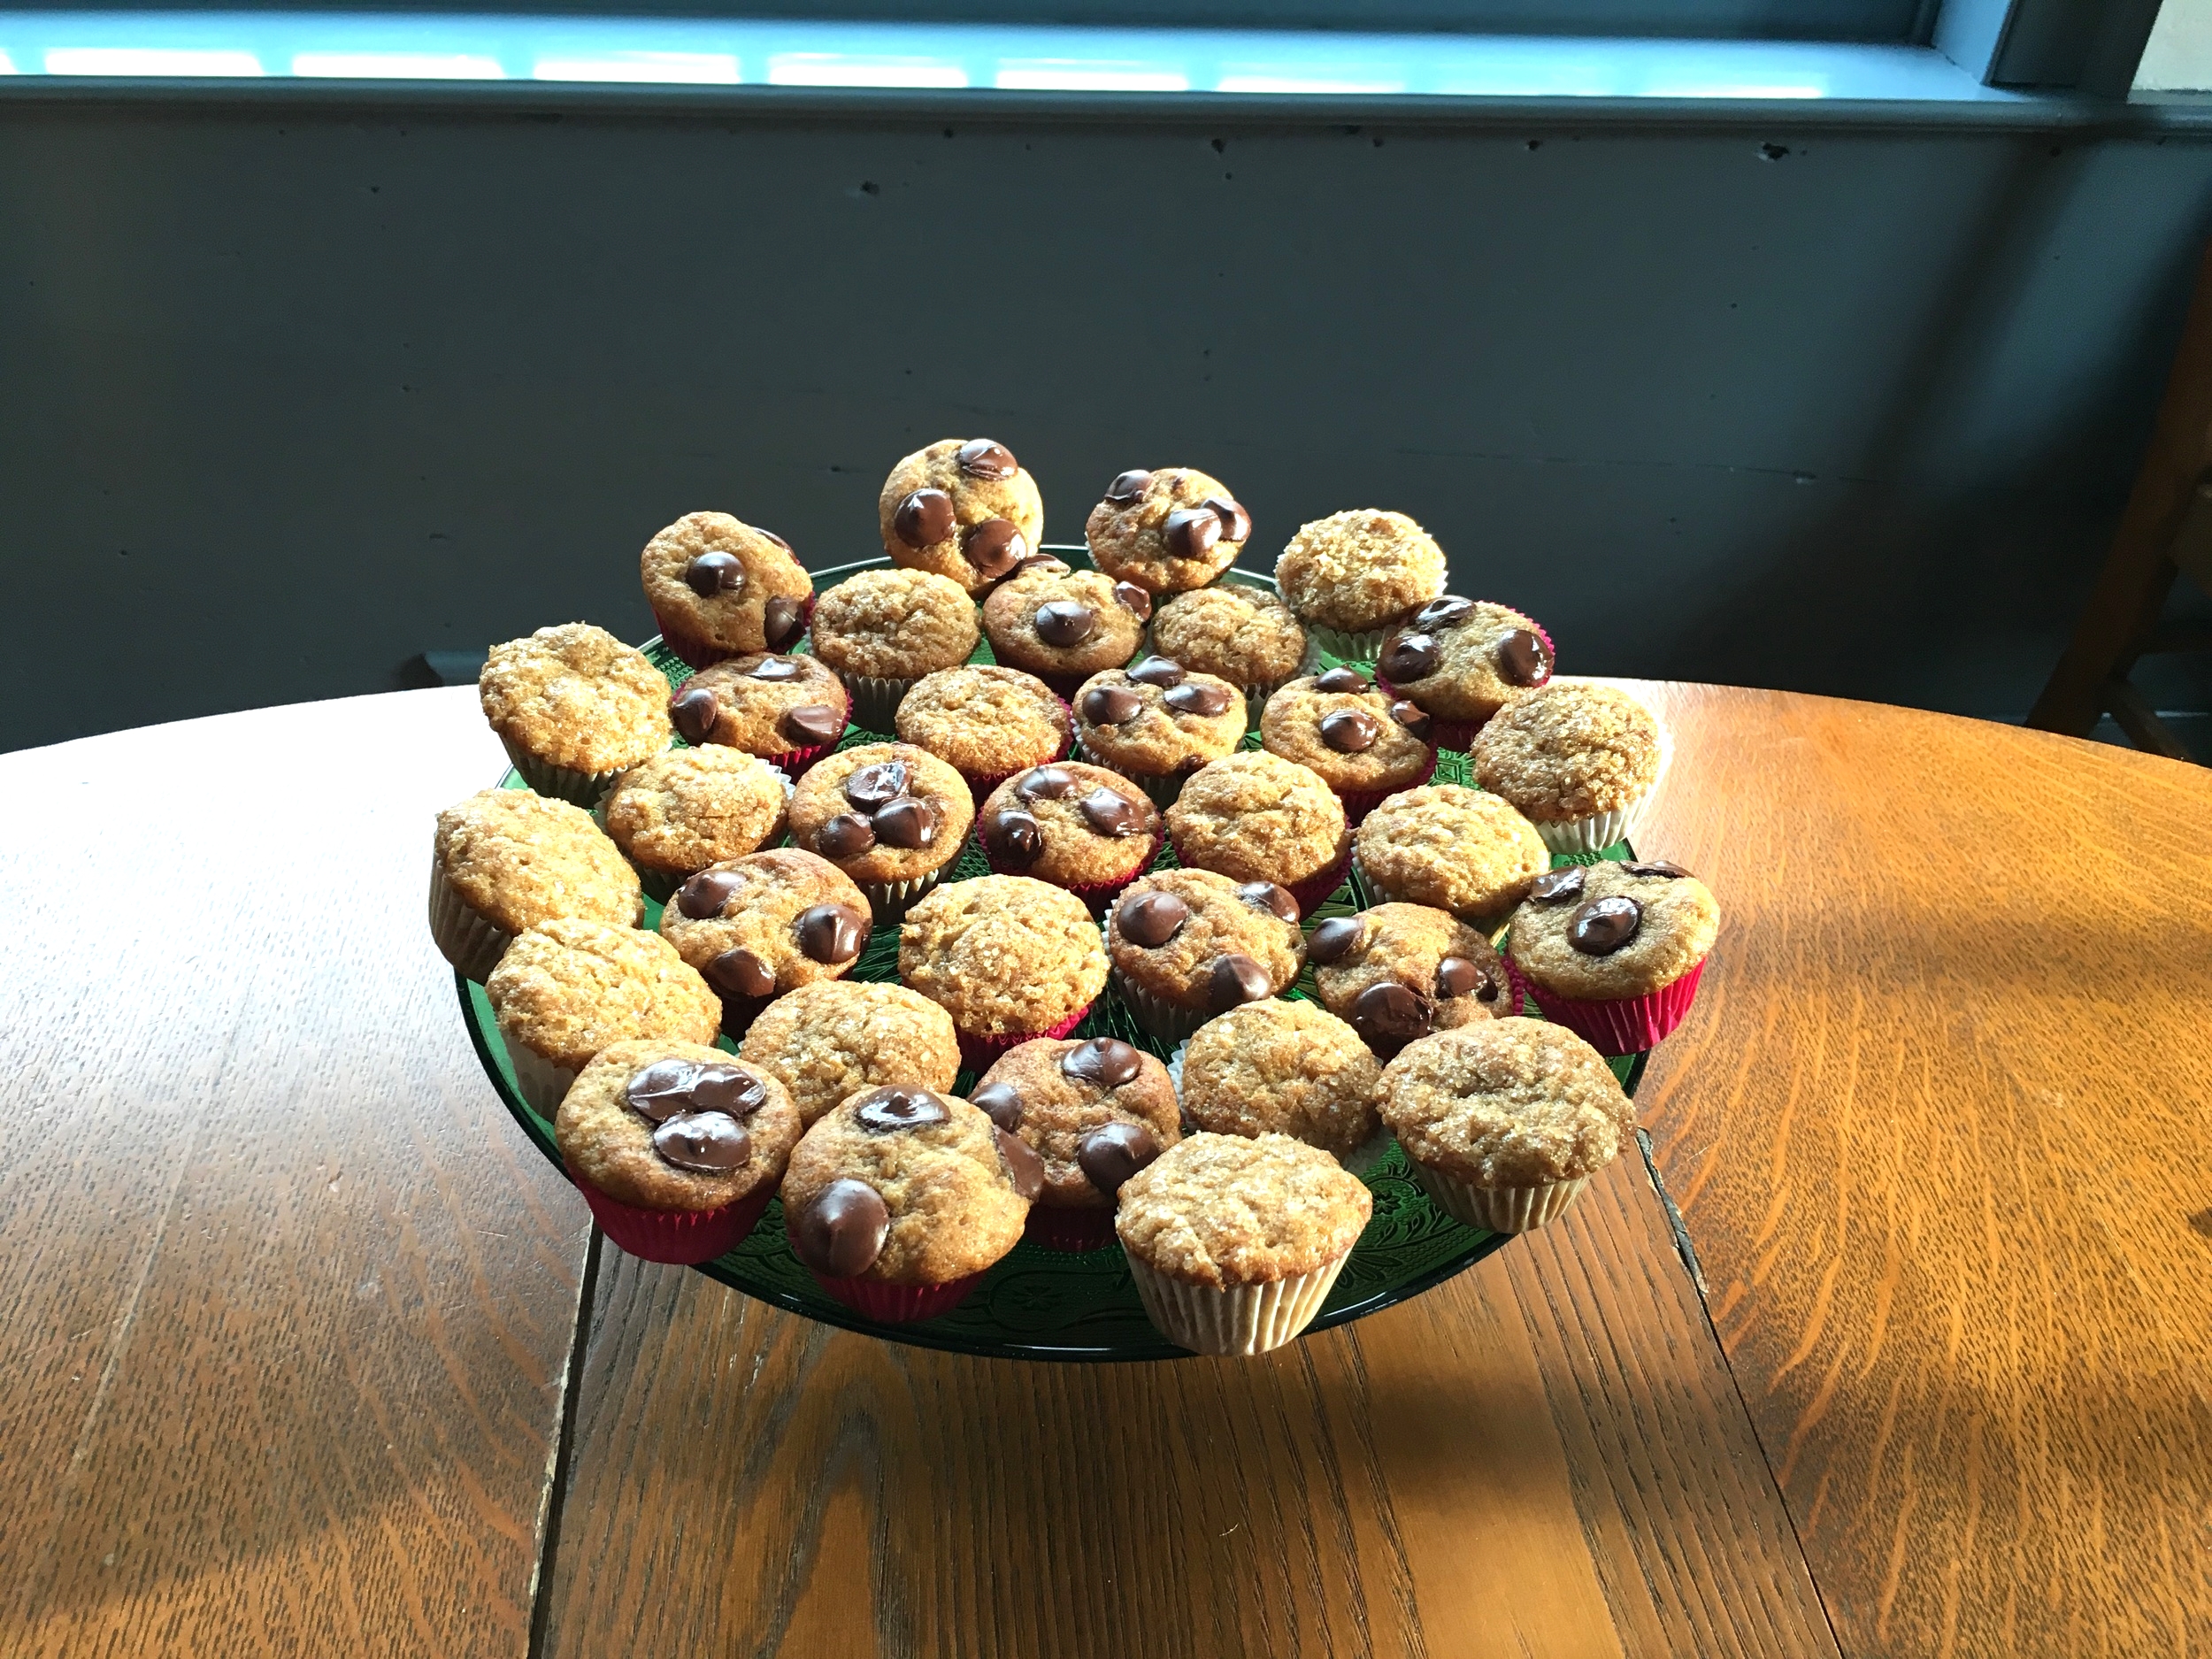
First off, I need to work on my photography skills because this photo does not do the product justice. These mini-banana muffins are moist, little bites of heaven. They are sprinkled alternately with a crunchy crust of demerara sugar or dark chocolate chips. You can easily pop 3 or 4 in your mouth in under five minutes without realizing it. That is to say, they will not last long, but they will be enjoyed immensely while they are around.
These do take a bit of planning because the batter sits overnight in your fridge, but rather than seeing this as a negative, think of it as an easy way to wake up to freshly baked muffins. Make the batter on Tuesday, wake your family up Wednesday morning to the smell of sweet banana muffins without all the mess.
I first found this recipe in Thomas Keller's Bouchon Bakery cookbook which has much better pictures than my website. I mean, you might even drool on the pages of this book. Seriously. I checked the book out from the library and kept re-checking it out and re-checking it out until I finally broke down and bought it. A little silly, since it is not a cookbook focused on gluten-free baking.... but I'm not the kind of person to let that stop me. (I'm looking forward to the challenge of cooking through an entire cookbook later this year, adapting all the recipes to gluten-free. Stay tuned for more on this later.)
It was nothing like any GF muffin I'd ever made and nothing like the GF banana breads I've had that often sink in the middle, are too dense, or too wet. These muffins are fluffy clouds of banana goodness. Fluffy clouds! I'm actually convinced this is not because of my flour blend, but rather because of the overnight rest in the refrigerator. According to Keller, resting the batter overnight in the fridge allows "the flour to hydrate... which results in a very moist muffin... (it) also enhances the flavor and gives a better crumb."
Yeah, what he said.
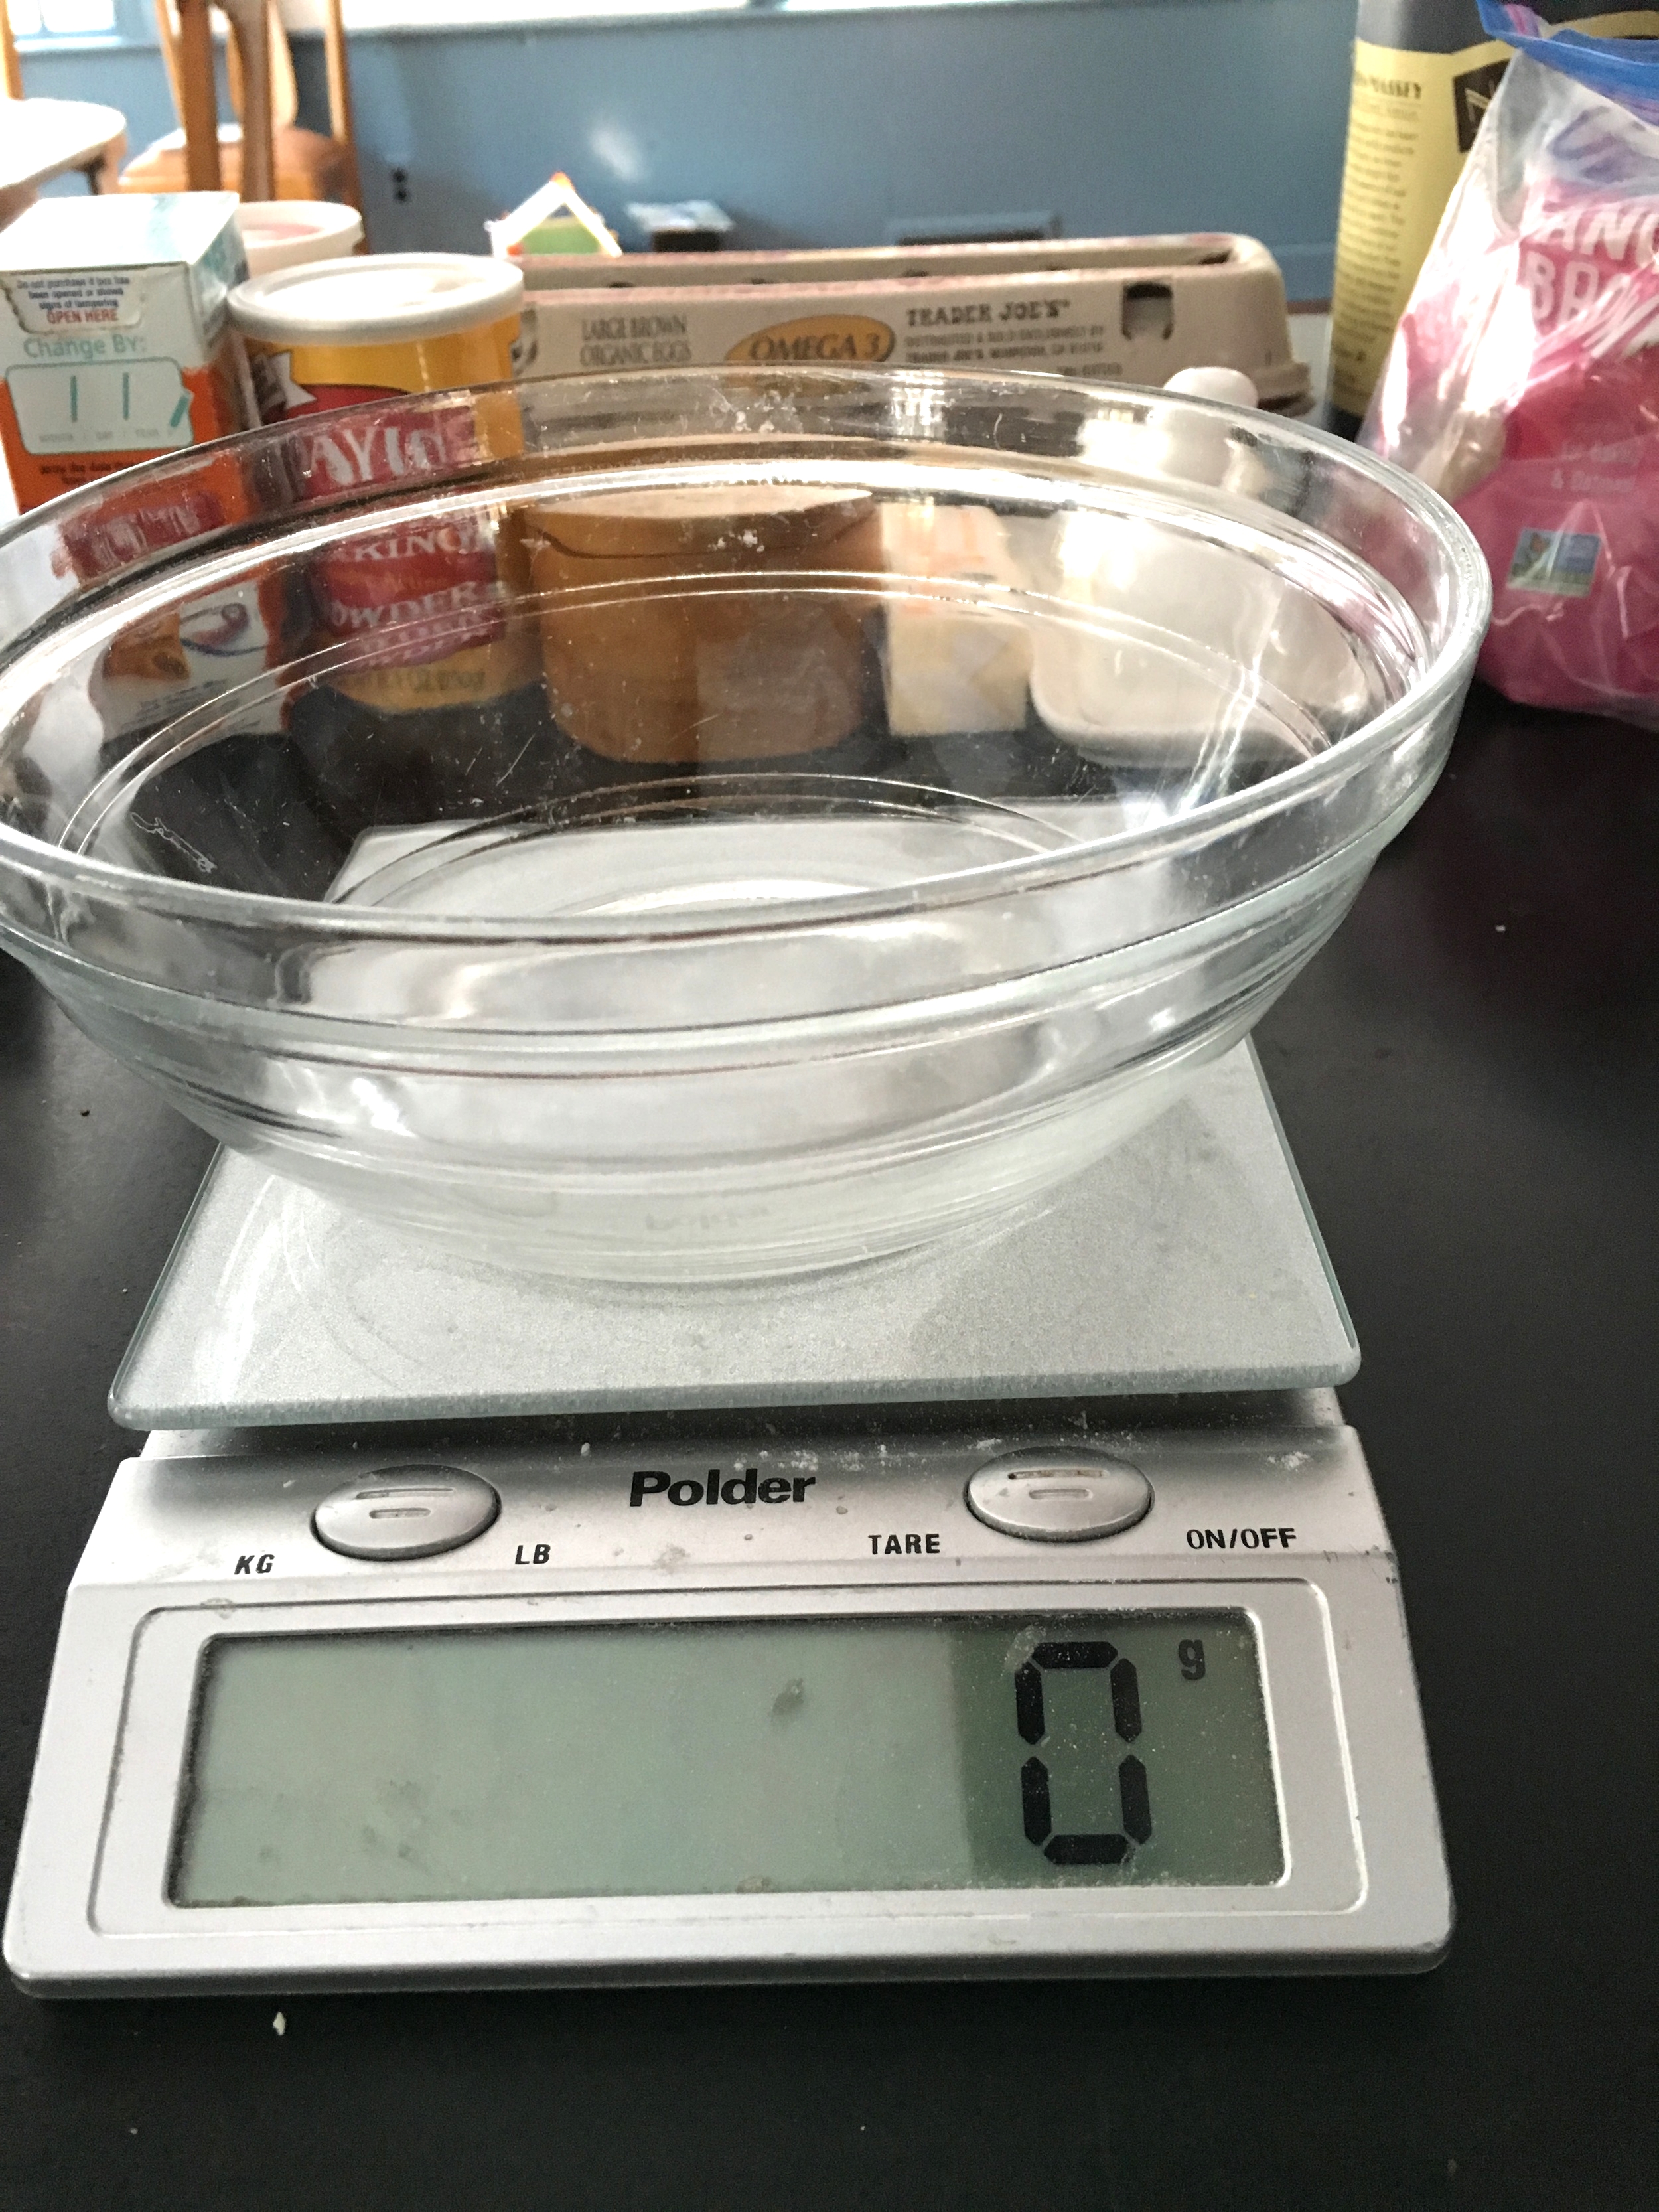
From reading many, many (too many) cookbooks and baking blogs, it really seems like the best way to measure your ingredients is with a scale. Keller does it and I've found it to be both helpful and convenient. You don't have to spend a ton of money on a scale. My scale doesn't do a great job with small amounts, like .4 grams, so for small amounts, I'll often go with the teaspoon measurement and not the scale. At the same time, I'll still weigh it to try to get it close to the amount called for. If there is a huge discrepancy between the scale and teaspoon (like with salt... kosher salt is heavy), I'll usually defer to the scale.
Finally, you'll see that the recipe calls for either vanilla paste or vanilla extract. As far as I can tell, vanilla paste can be substituted wherever a recipe calls for vanilla extract and you can substitute it 1:1. The paste simply cuts down on the amount of liquid added to the recipe. Also, you have the option of either crème frâiche or plain greek yogurt. I've made this recipe with both and the batches turned out equally well. So, go with whichever is easiest for you to find. I think you might even be able to get away with sour cream if you have that handy.
One thing I've learned from baking gluten-free and adapting recipes is that the hype about baking being this precise, exact art is somewhat exaggerated. You can and should experiment, just as chefs get to do with their mains. Baking is finicky, but not so much that you should feel like you can't make substitutions. And, you should definitely not be intimidated into buying boxed mixes. You can bake from scratch. Just try!


Gluten Free Mini Banana Muffins (adapted from Thomas Keller Bouchon Bakery)
-makes about 36 mini muffins-
- 168 grams gluten-free flour blend (with xanthan gum)
- 3.6 grams baking soda (3/4 teaspoon)
- 2.4 grams baking powder (1/2 teaspoon)
- 4.4 grams kosher salt (1-1/2 teaspoon)
- 120 grams unsalted butter at room temperature (4.2 ounces)
- 144 grams light brown sugar (3/4 cup lightly packed)
- 80 grams eggs (approximately 1.5 large eggs)
- 7 grams vanilla paste or extract (1-1/8th teaspoon)
- 24 grams crème frâiche or plain greek yogurt (1 tablespoon + 2 teaspoons)
- 256 grams mashed banana (approx 3 bananas or 1 cup)
- chocolate chips and demerara sugar for sprinkling (to taste)
So, like I said above, this is a 2-day baking project... BUT DON'T BE OVERWHELMED. I swear, it's not that hard. Let's start nice and easy by making the batter. Get yourself a medium-sized bowl and add your flour, baking soda, baking powder, and salt to the bowl. Give it a good mix. If you want to go crazy, you can sift it all in... but I've found that you don't need to.
Pull out your stand mixer and cream your room-temperature butter on medium-low speed. Thomas Keller actually has this amazing chart for mixer speeds. Have you ever wondered what a recipe means when it says "cream your room-temperature butter on medium-low speed?" Is that on 4? 6? 8? Well, Keller doesn't make you wonder and I won't either. Here is the cheat sheet of all cheat sheets--
- mix on low = 2
- mix on medium low = 4
- mix on medium = 6
- mix on medium-high = 8
- mix on high = 10
Of course, Keller specifies that this is for the 5-quart Artisan Kitchen Aid mixer, but let's not be so precise (because like I said before, you don't always have to be when it comes to baking) and say it works for all stand mixers. Once your butter is creamy like mayo, add your sugar and mix for 1-2 minutes until the mixture is fluffy. Scrape down the sides of the bowl and add your eggs and vanilla paste or extract.
Keller weighs his eggs and even does this trick to separate the chalazae using a mesh seive.
Wait, you don't know what chalazae is?!?! OMG!!!
Don't feel bad, neither did I. Apparently, chalazae is that white stringy thing that connects the yolk to the white of the egg. Now, do I do this fancy trick? I do not. I figure since I didn't know what the chalazae was and I've been baking with it forever, I'm not going to stop now. That said, feel free to remove it if you like. If you don't have a scale, I've found that the average large-sized egg weighs about 50 grams which makes two of them about 100 grams. Beat your two eggs together and dump out what looks like about 1/5 of what is in the bowl, leaving 80 grams of eggs for your recipe-- right? Is my math right? Add the lightly beaten eggs to your mixer, along with the vanilla. Mix for about 15-30 seconds on low speed- check the chart- that's right, mix it on 2! To keep your muffins fluffy, don't overmix.
Now, we're going to add all the dry ingredients you whisked up earlier. Add them to your mixer in two additions, mixing on low until just combined. Scrape down your bowl. Add your crème frâiche (if you're feeling fancy) or your plain greek yogurt and your mashed bananas. Mix it all together on low for about 30 seconds or until just combined.
Ta-da! That's your batter. Throw it in a tupperware and stick it in your refrigerator overnight or up to 36 hours. Nighty night.
Good morning, Beautiful! Today is your day to be amazing. You're making gluten-free mini banana muffins! Preheat your oven to 425 and begin filling your mini-cupcake tin with liners. I like to double up on liners because I think it makes a prettier finished product. All that delicious butter can seep through a single liner. If you double-up, your liners stay bright and brilliant. Fill your muffin liners about 3/4s of the way up with your refrigerated batter. I like to use a small ice cream scoop to keep the muffins relatively uniform in size. It also makes me feel like a professional baker. (It's the little things, right?)
Now, it's your chance to really personalize your muffin. You like chocolate? Top your muffins with 4 or 5 chocolate chips. You like a crunchy top? Sprinkle a heavy layer of demerara sugar on top. How about cinnamon or almond? Add that to your sugar and sprinkle it on. Have fun with it. After all, it's not like you're saving the world. You're baking muffins!
Once your muffins are properly topped, turn your oven down to 325 and pop the tin in. Do not forget to lower the oven temperature or you'll end up with burnt muffins! You won't have saved the world or made delicious muffins. It's a real bummer, trust me. I've heard that the shifting oven temperature helps your muffins puff up more, a challenge for many GF baked goods. I haven't tested it with many other recipes, but it is definitely true for this one.
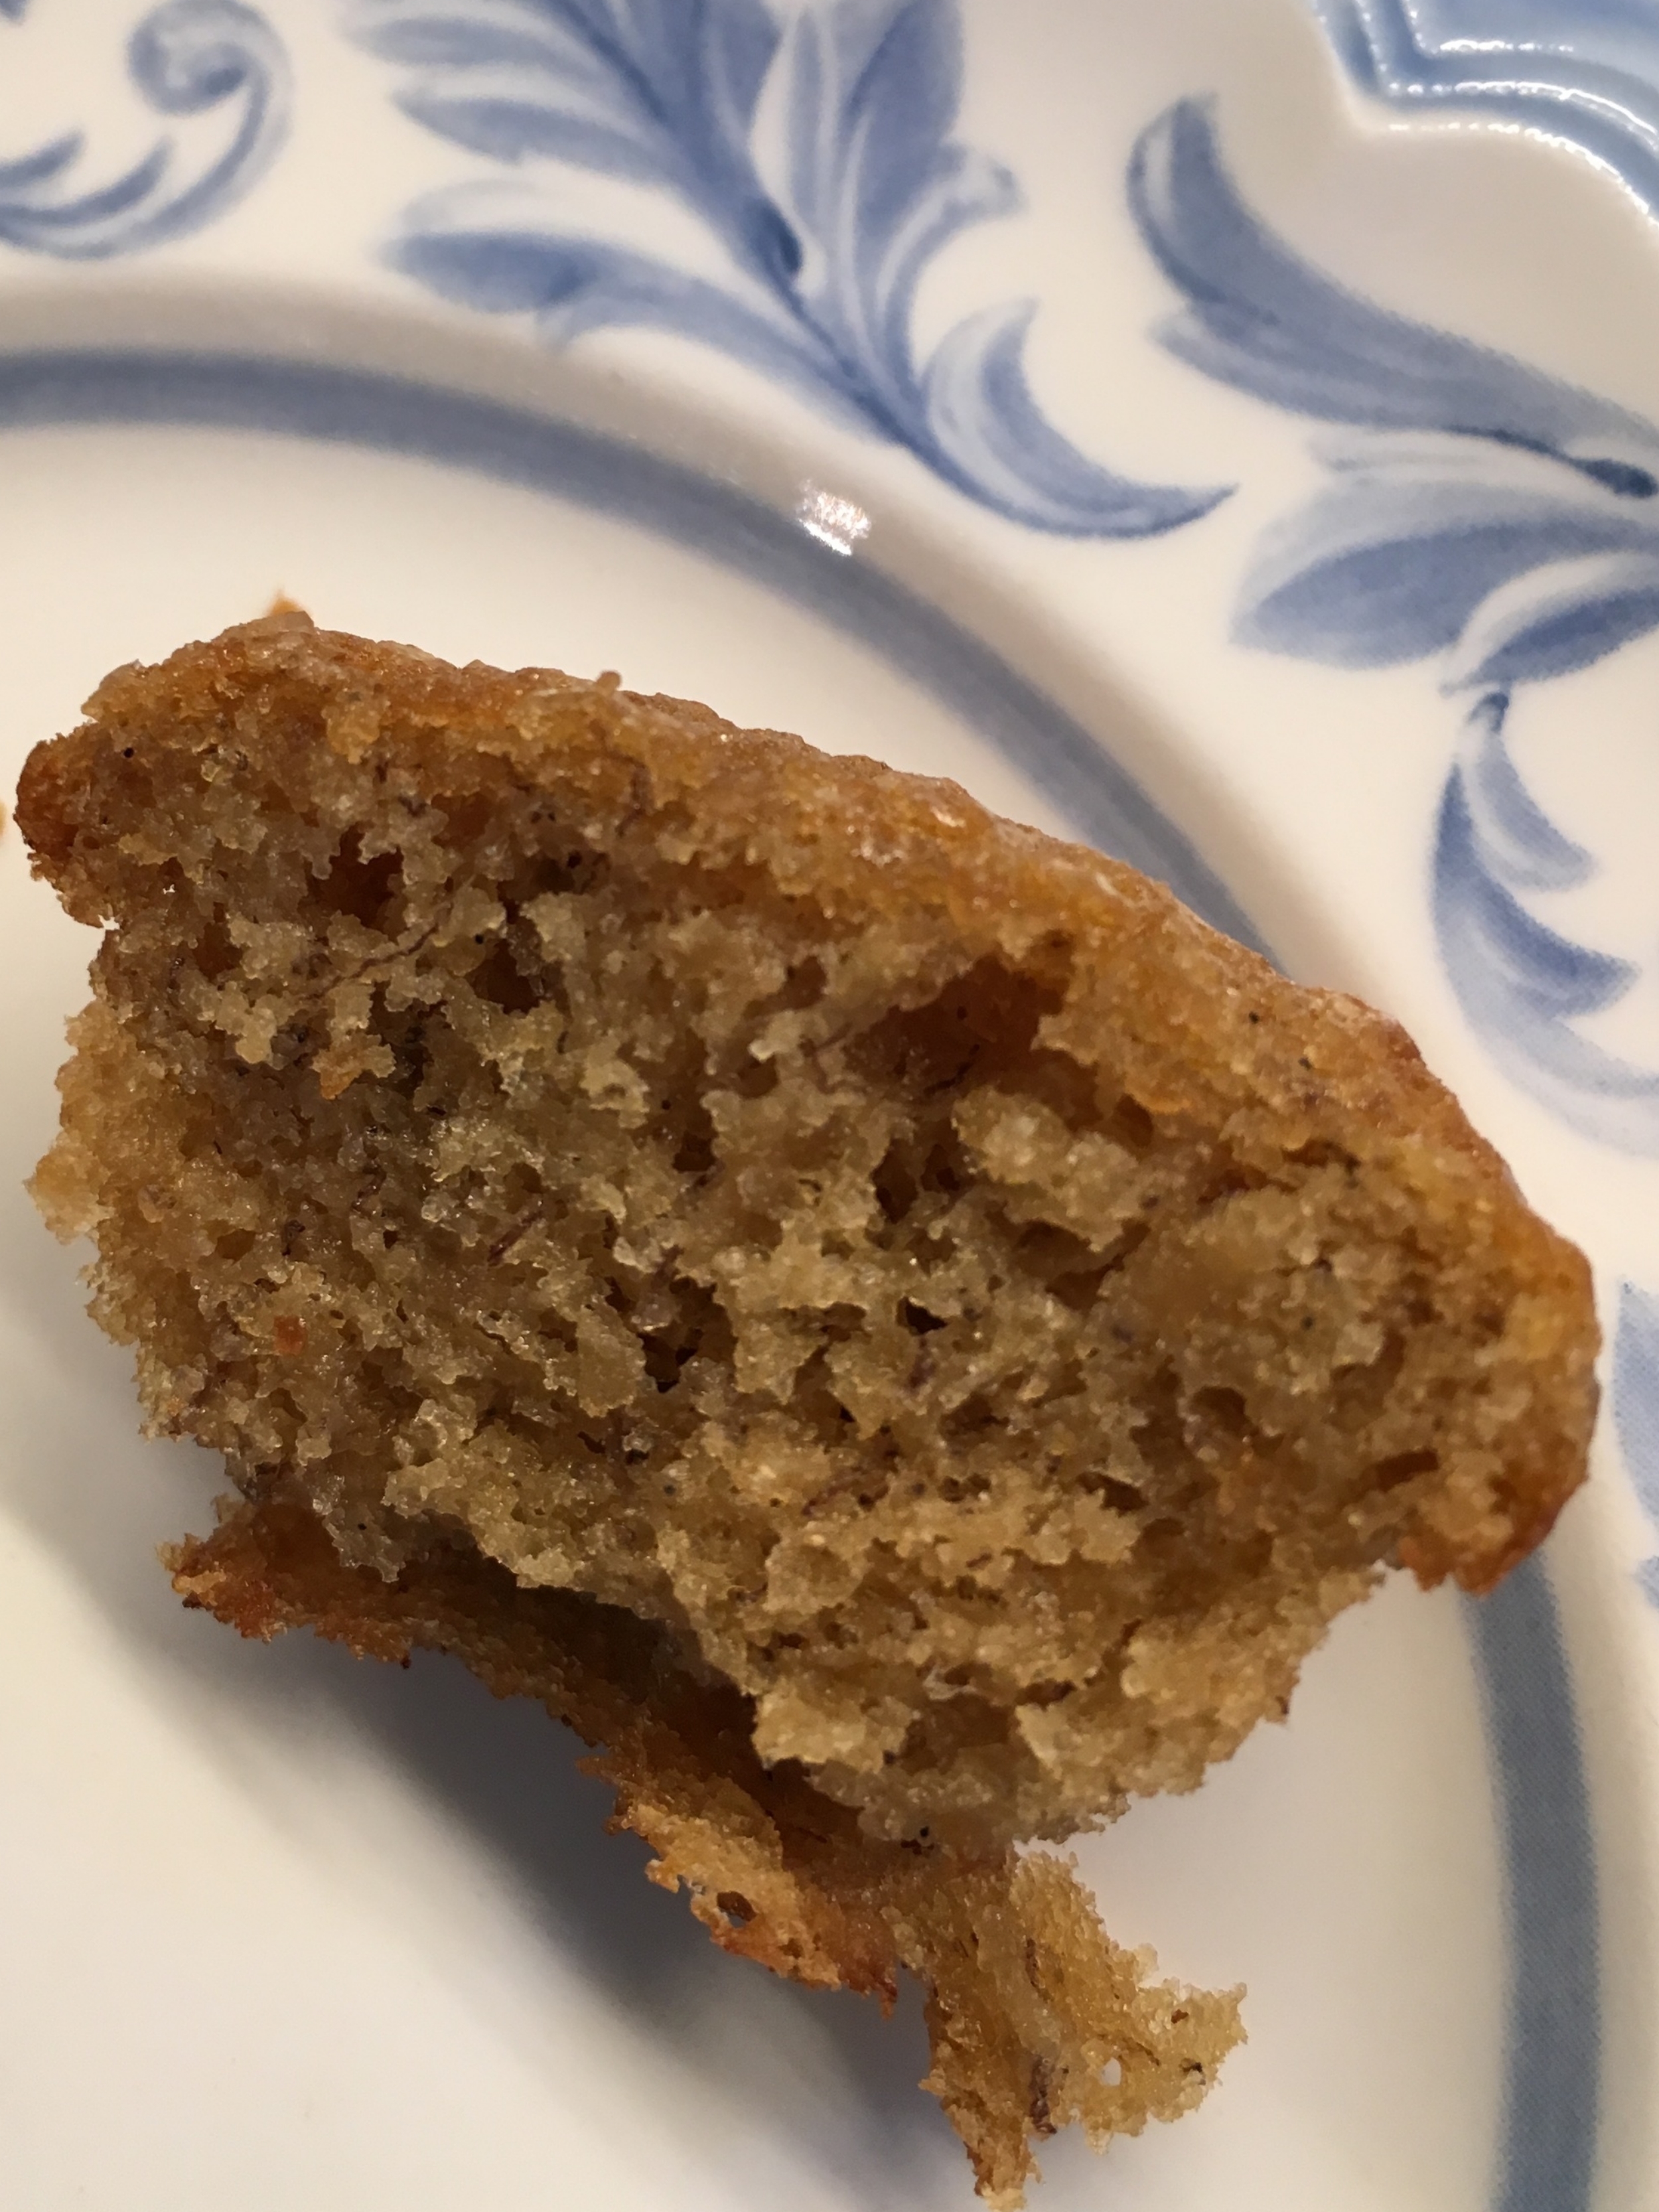
After 10 minutes, give your muffin tin a spin, moving the muffins from the back to the front. Bake for about another 7-10 minutes, checking after 7 for doneness. You'll know they're done when they're golden brown and spring back to the touch. When they are done, pull them out to cool for a few minutes and then remove the muffins from the tin to cool completely on a rack. At least, that's Keller's advice. My advice? Live a little! Eat them while they're still warm! Slice one open, add a pat of butter and gobble it up. A-MAZ-ING, right? Maybe you did just save the world....