

gluten-free cinnamon rolls
/
GLUTEN FREE CINNAMON ROLLS
I don't know why it has taken me so long to get around to making gluten-free cinnamon rolls. After all, they are the most delicious way to mainline both butter and sugar. Yeah, these aren't necessarily healthy... but they are worth it. I mean, if you're gluten-free, chances are you haven't had a cinnamon roll in quite awhile. And if you're of a certain age (ahem), you probably have fond high school memories of downing two Cinnabon rolls in one sitting before shopping for Madonna's "Like a Virgin" on cassette and then later maybe having an Orange Julius and some Sbarro or Panda Express for lunch. Ah, the mall. Maybe you were even lucky enough to get your ears double-pierced at Claire's. Like ohmigawd.
Anyhoo... you might not be able to shop for cassettes anymore, but-- thanks to this recipe-- you can enjoy a good cinnamon roll again.
This is a recipe that is perfect for a holiday breakfast because you can make it ahead. You can make it the night before and let it sit in the fridge overnight or up to a week before and let it sit in the freezer until the night before baking.
Don't be intimidated by the ingredient list or the bit of prep a make-ahead dish like cinnamon rolls entails. Instead, as you go through the steps, just imagine that warm cinnamony-buttery smell that will fill your house. And, if you're so inclined, play a little "Like A Virgin" to really bring you back to the 80s. Ah, yeah... time to start baking!
gluten-free cinnamon rolls, (makes 8-10 rolls)
FOR THE TOPPING
- 4 Tbsps butter (55 grams)
- 1/2 cup light brown sugar (110 grams)
- 2 Tbsps maple syrup (40 grams)
- 1 tsp vanilla extract (5 grams)
- 2 Tbsps heavy cream (30 grams)
- pinch of salt
FOR THE DOUGH
FOR THE FILLING
- 2 Tbsps butter, very soft (28 grams)
- 1/2 cup light brown sugar (110 grams)
- 1-2 Tbsps ground cinnamon, to taste (8-16 grams)
- 1-2/3 cups white rice flour (260 grams)
- 1/2 cup potato starch (100 grams)
- 1/3 cup plus 1/2 cup tapioca starch (105 grams)
- 1 Tbsp xanthan gum (10 grams)
- 1 Tbsp rapid rise yeast (12 grams, about 1-1/2 packets)
- 3 Tbsps granulated sugar (45 grams)
- 1/2 tsp kosher salt (2-3 grams)
- 1/4 cup dry milk powder (45 grams)
- 1 tsp baking powder (5 grams)
- 4 Tbsps butter (55 grams)
- 1/2 cup water (115 grams)
- 1 large egg, room temperature
- 3/4 cup whole milk (170 grams)
- 1 tsp cider vinegar (5 grams)
- 2 Tbsps vegetable oil (30 grams)
- 1 tsp vanilla (5 grams)
Begin by making the cinnamon roll topping. Combine the first three topping ingredients in a small pot over medium heat. Stir until brown sugar is completely dissolved. Add in remaining ingredients and stir until fully-combined. Be careful not to let the topping come to a boil. Remove from heat and pour into the bottom of a greased 9"x13" lasagne dish.
Now, get ready to make your dough. In a stand mixer, combine all dry ingredients. Meanwhile, melt 4 Tbsps butter in 1/2 cup water in a glass measuring cup. I found this easiest to do in short 30-second increments in the microwave. We have a pretty cheap microwave, so I kept a close eye on the butter and only ran the microwave at 3/4 power, stirring the butter and water together every 30 seconds or so, until the butter was fully-melted and mixed into the water. Once the butter is completely melted and stirred into the water, add milk, cider vinegar, vegetable oil, vanilla and lastly one egg. Whisk to combine. Be sure that your butter/water mixture is not too hot before adding your egg or else you will begin to cook your egg. I like to add the cold milk, vinegar, vegetable oil and vanilla first to help make sure the mixture is cool enough before adding the egg.
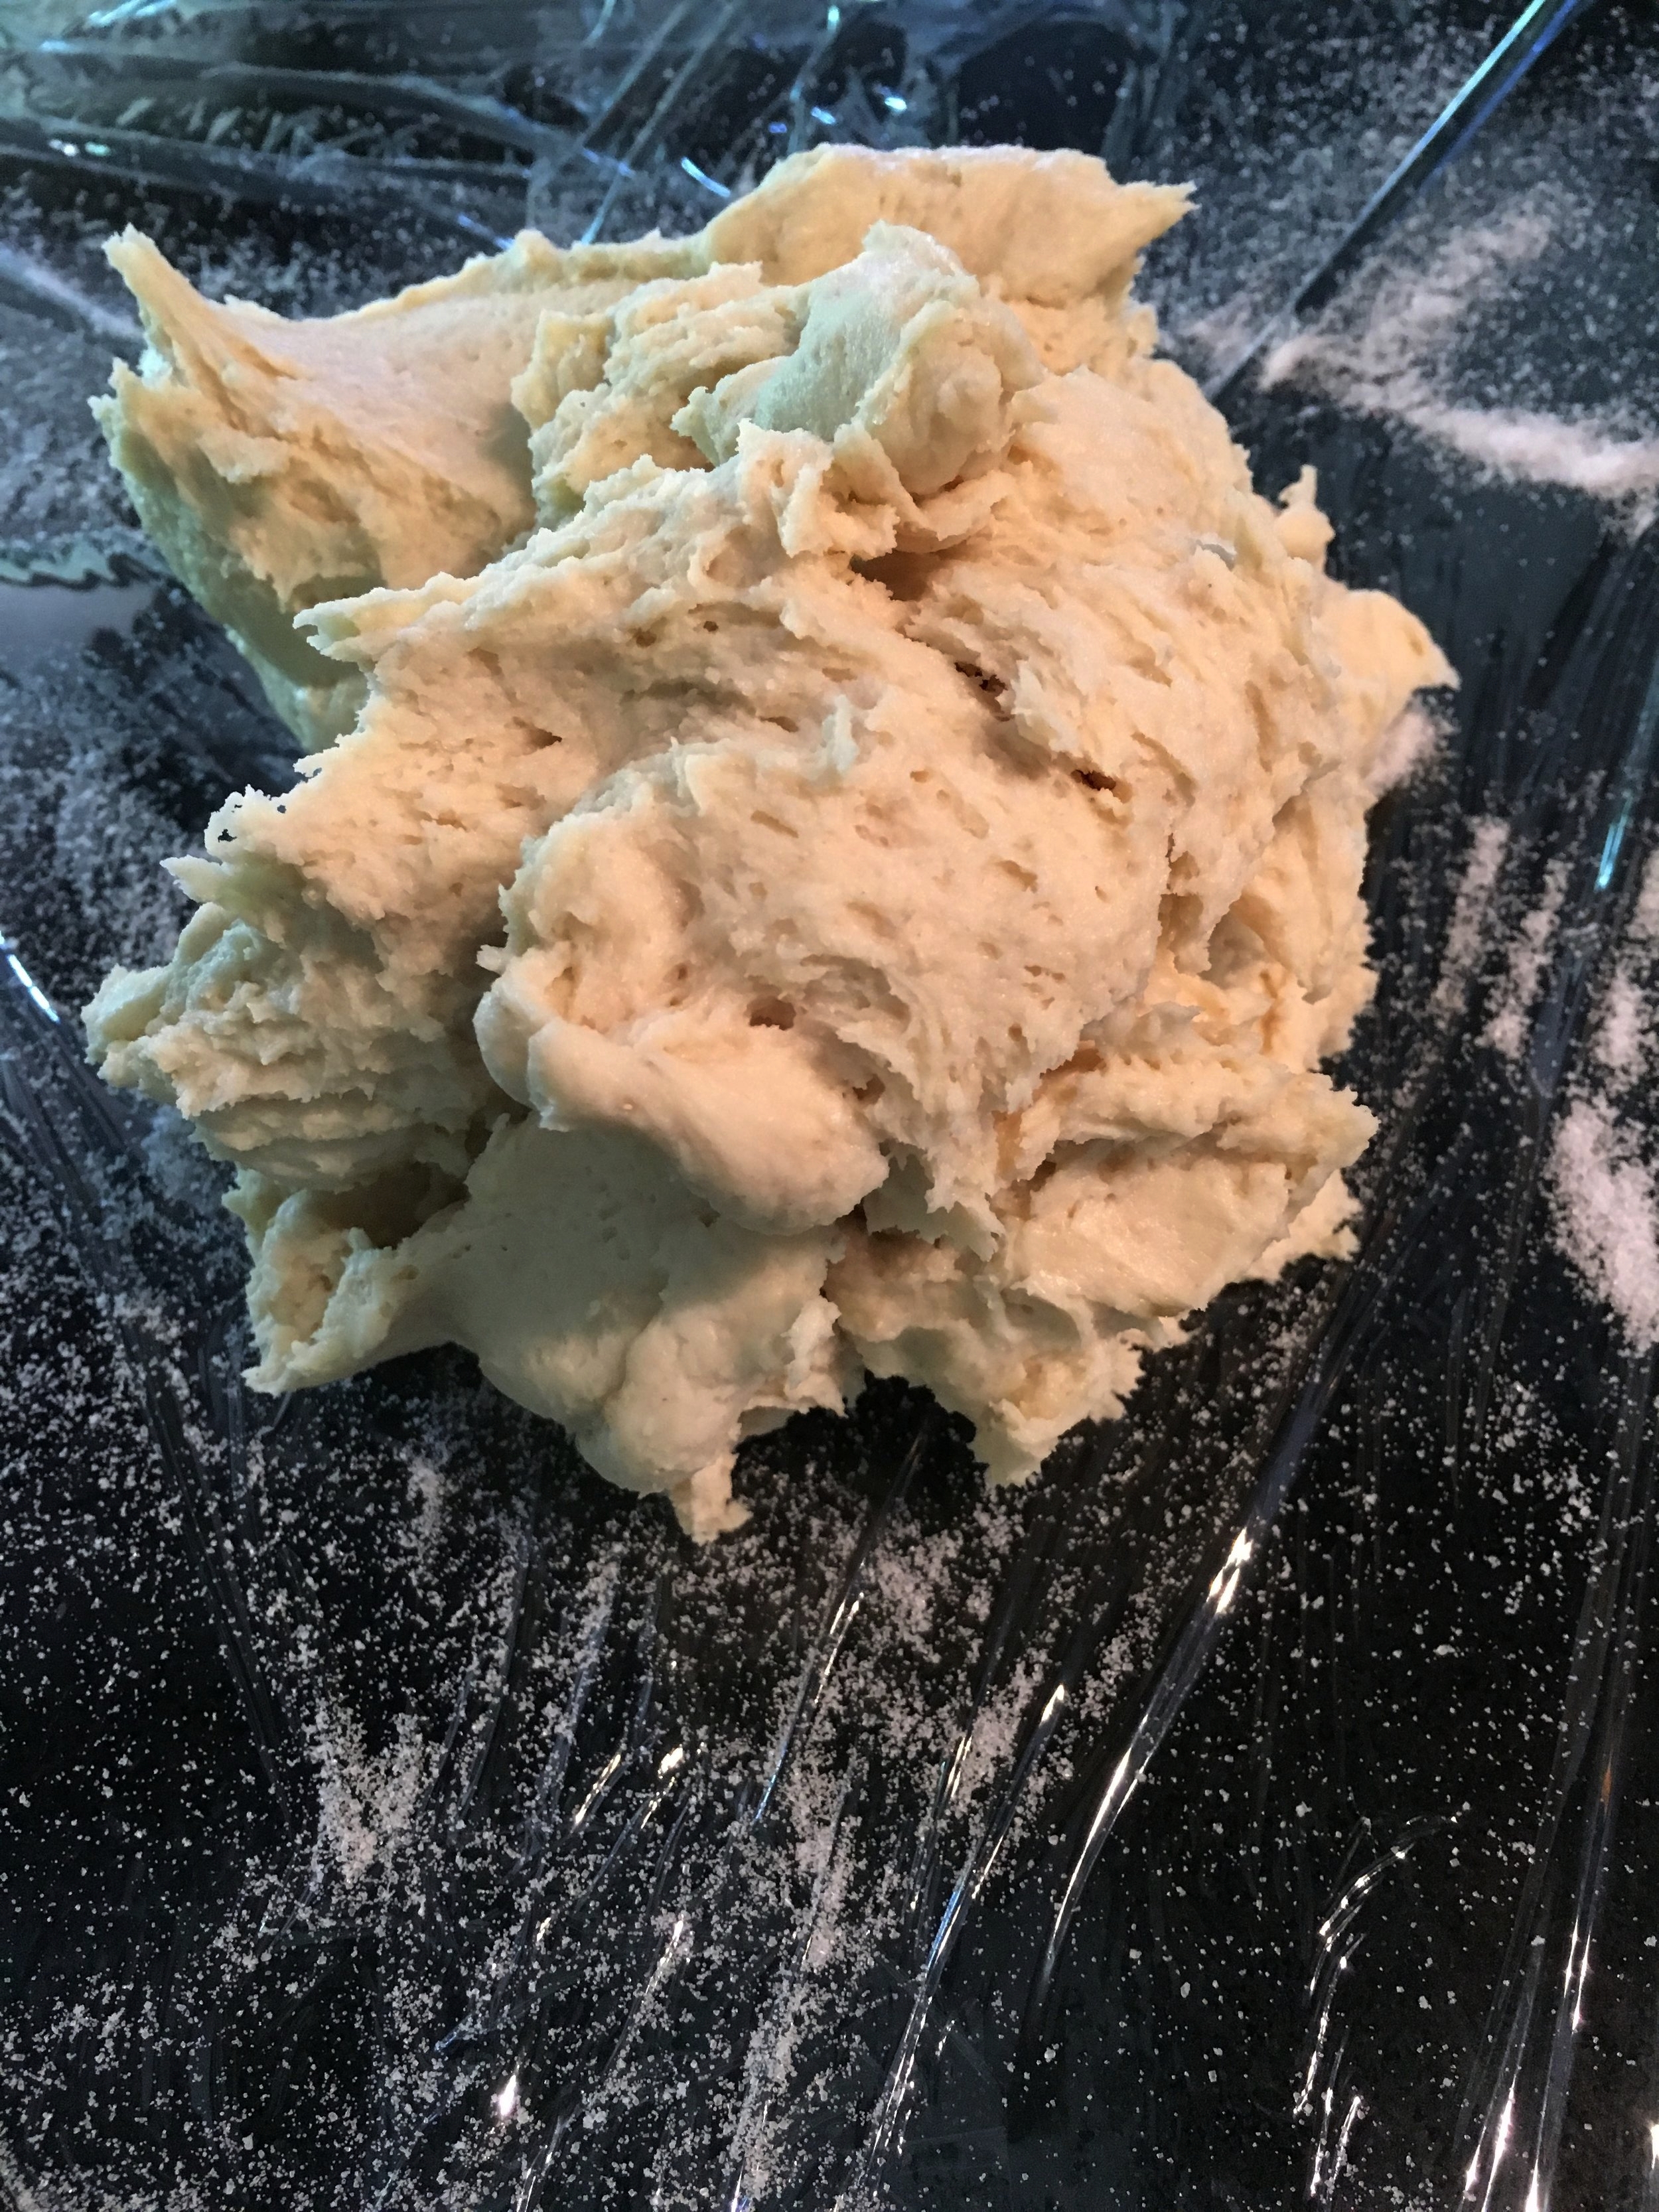
Mixing on low, pour wet ingredients slowly into the dry ingredients in the bowl of your stand mixer. Use the paddle attachment and scrape down the dough with a rubber spatula every now and then to be sure it all mixes together. Increase the speed to medium and mix for about 3 minutes. The cinnamon roll dough will be very sticky.
While your mixer is working, take a minute to prepare the cinnamon roll filling. Mash together the softened butter, brown sugar and cinnamon until you have a nice paste. Next, prepare your work surface as you're about to start rolling out your dough. Spread out enough plastic wrap to cover about a 8"x16"area and sprinkle wrap with a few tablespoons granulated sugar.
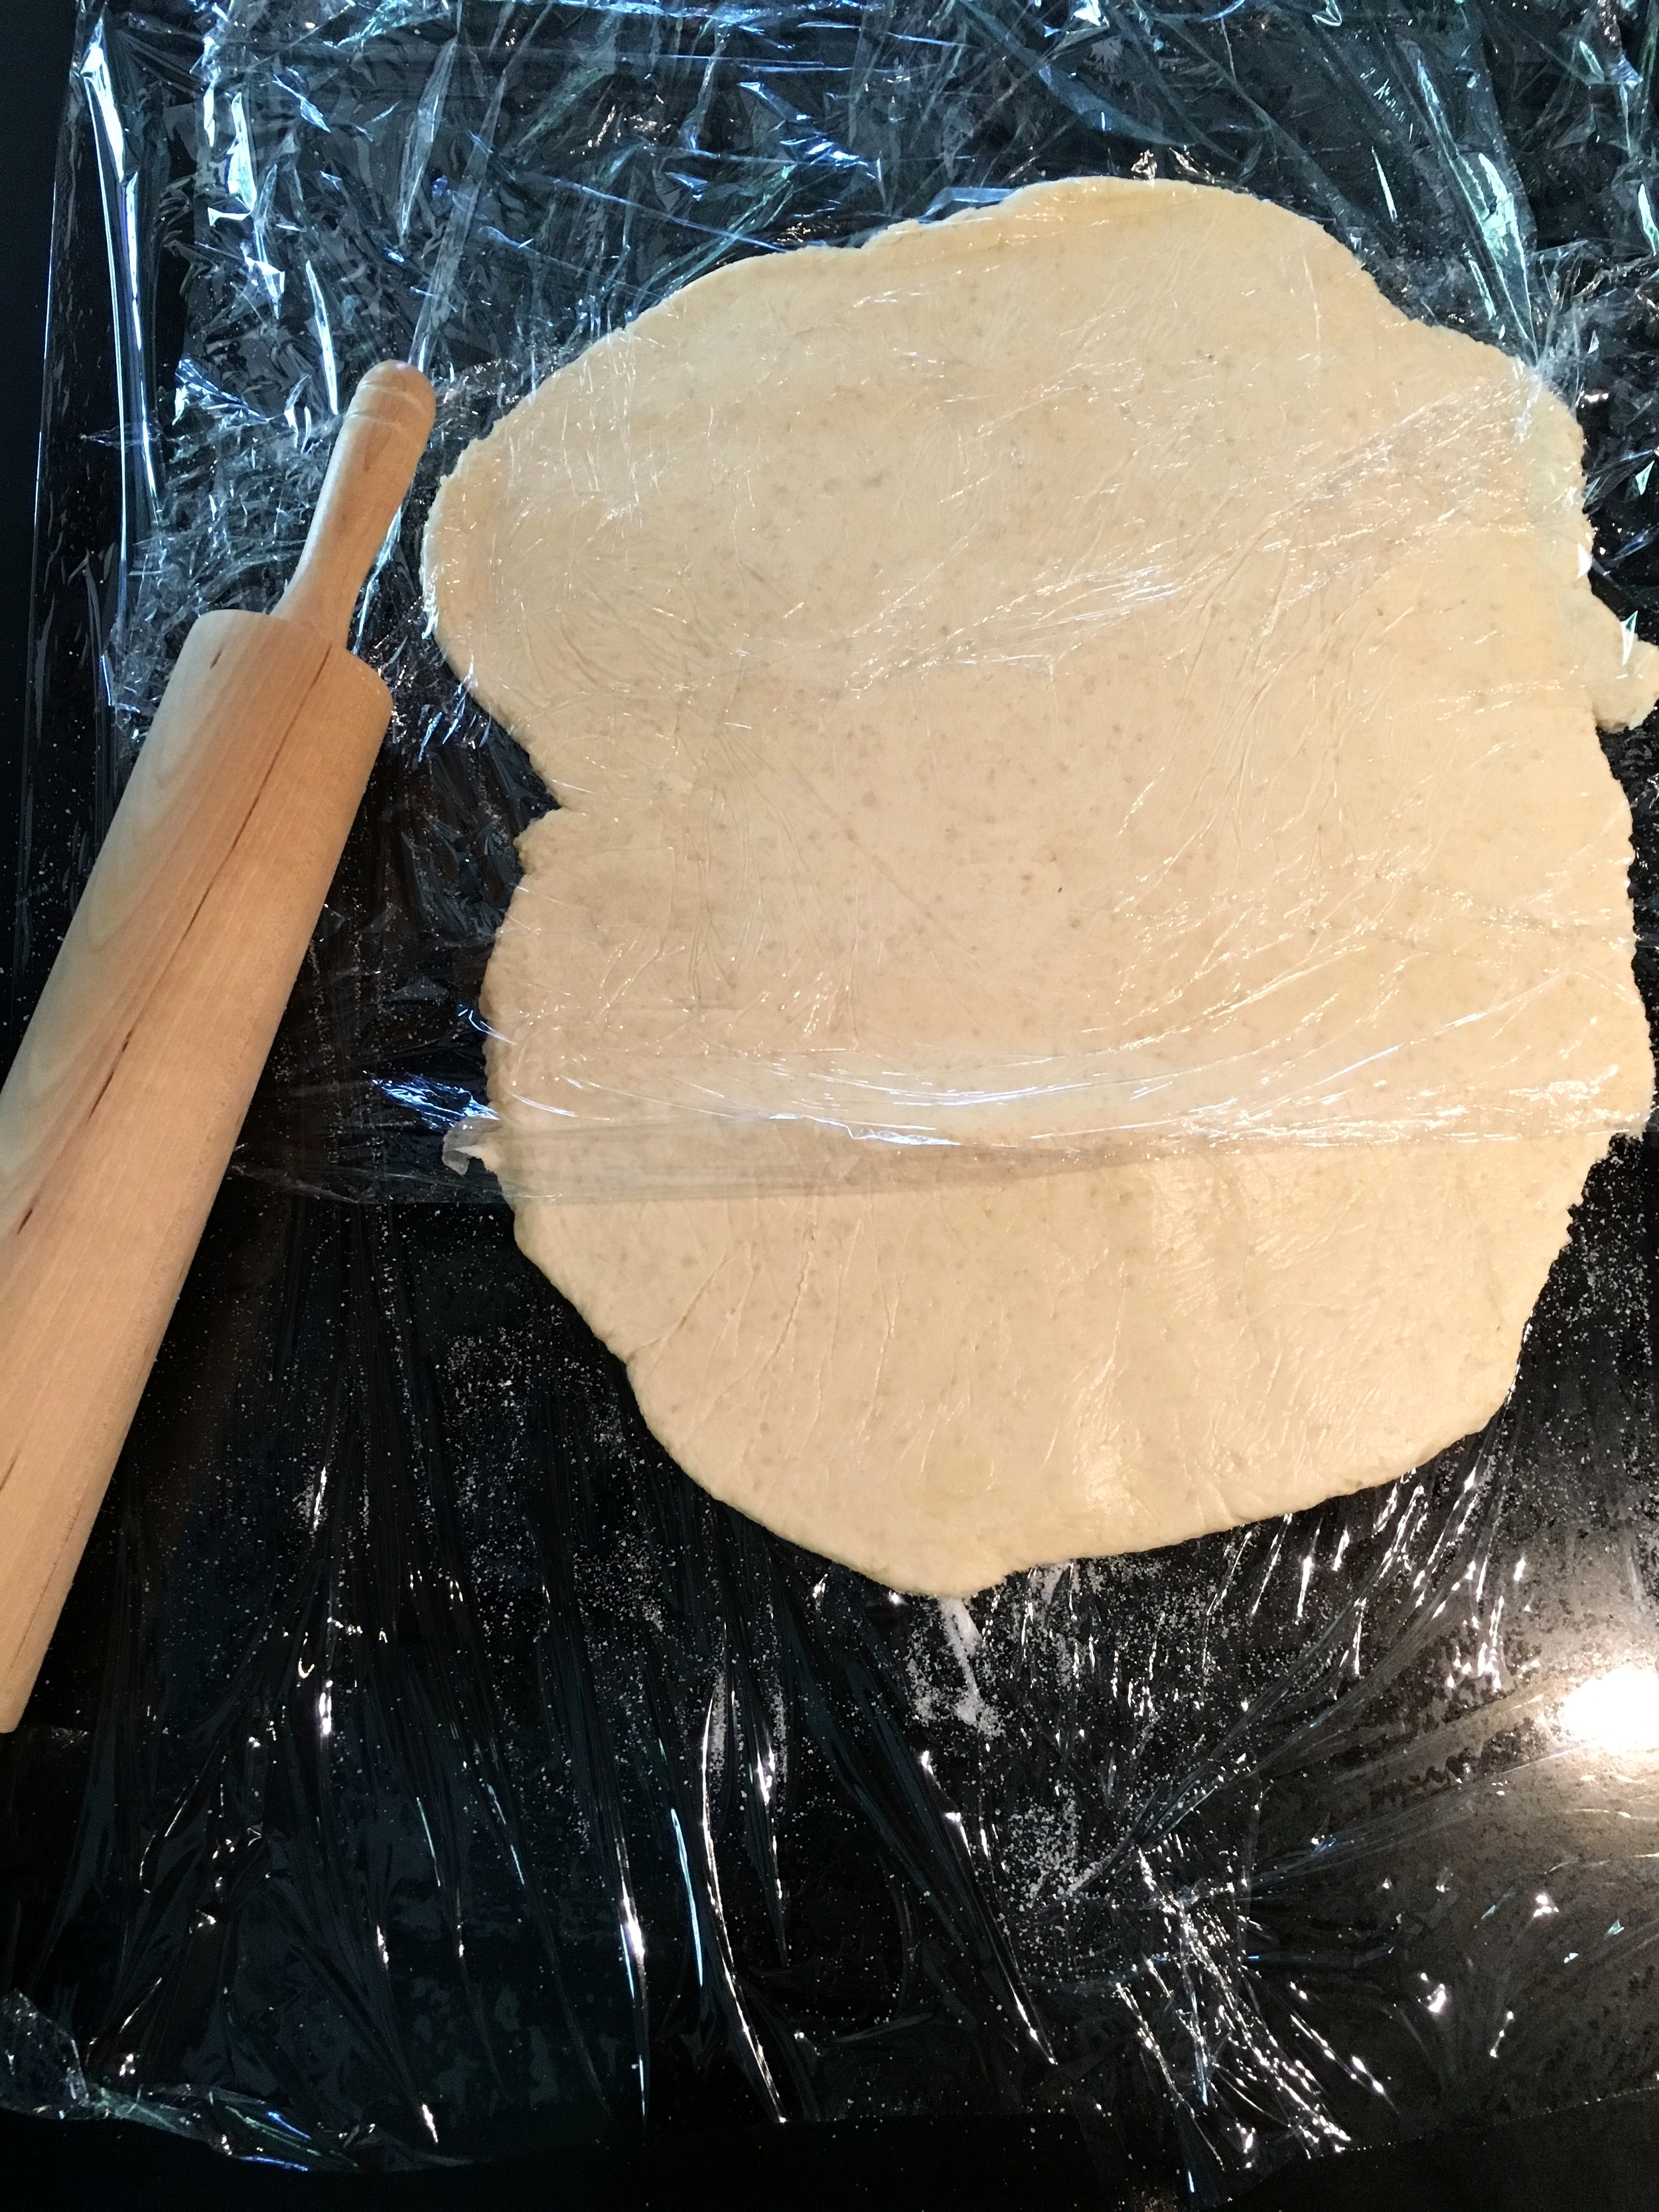
After about 3 minutes of mixing, your dough is ready to be rolled out. Plop the very sticky loose ball of dough down in the center of your sugar-sprinkled plastic wrap. Place 1-2 more sheets of plastic wrap across the top of the dough ball and pat it down into a rectangular shape. Reposition the top layer of plastic wrap and even sprinkle with additional granulated sugar as needed as you begin to roll the dough out into the right size (about 8"x14"). The dough should be approximately 1/4" thick.
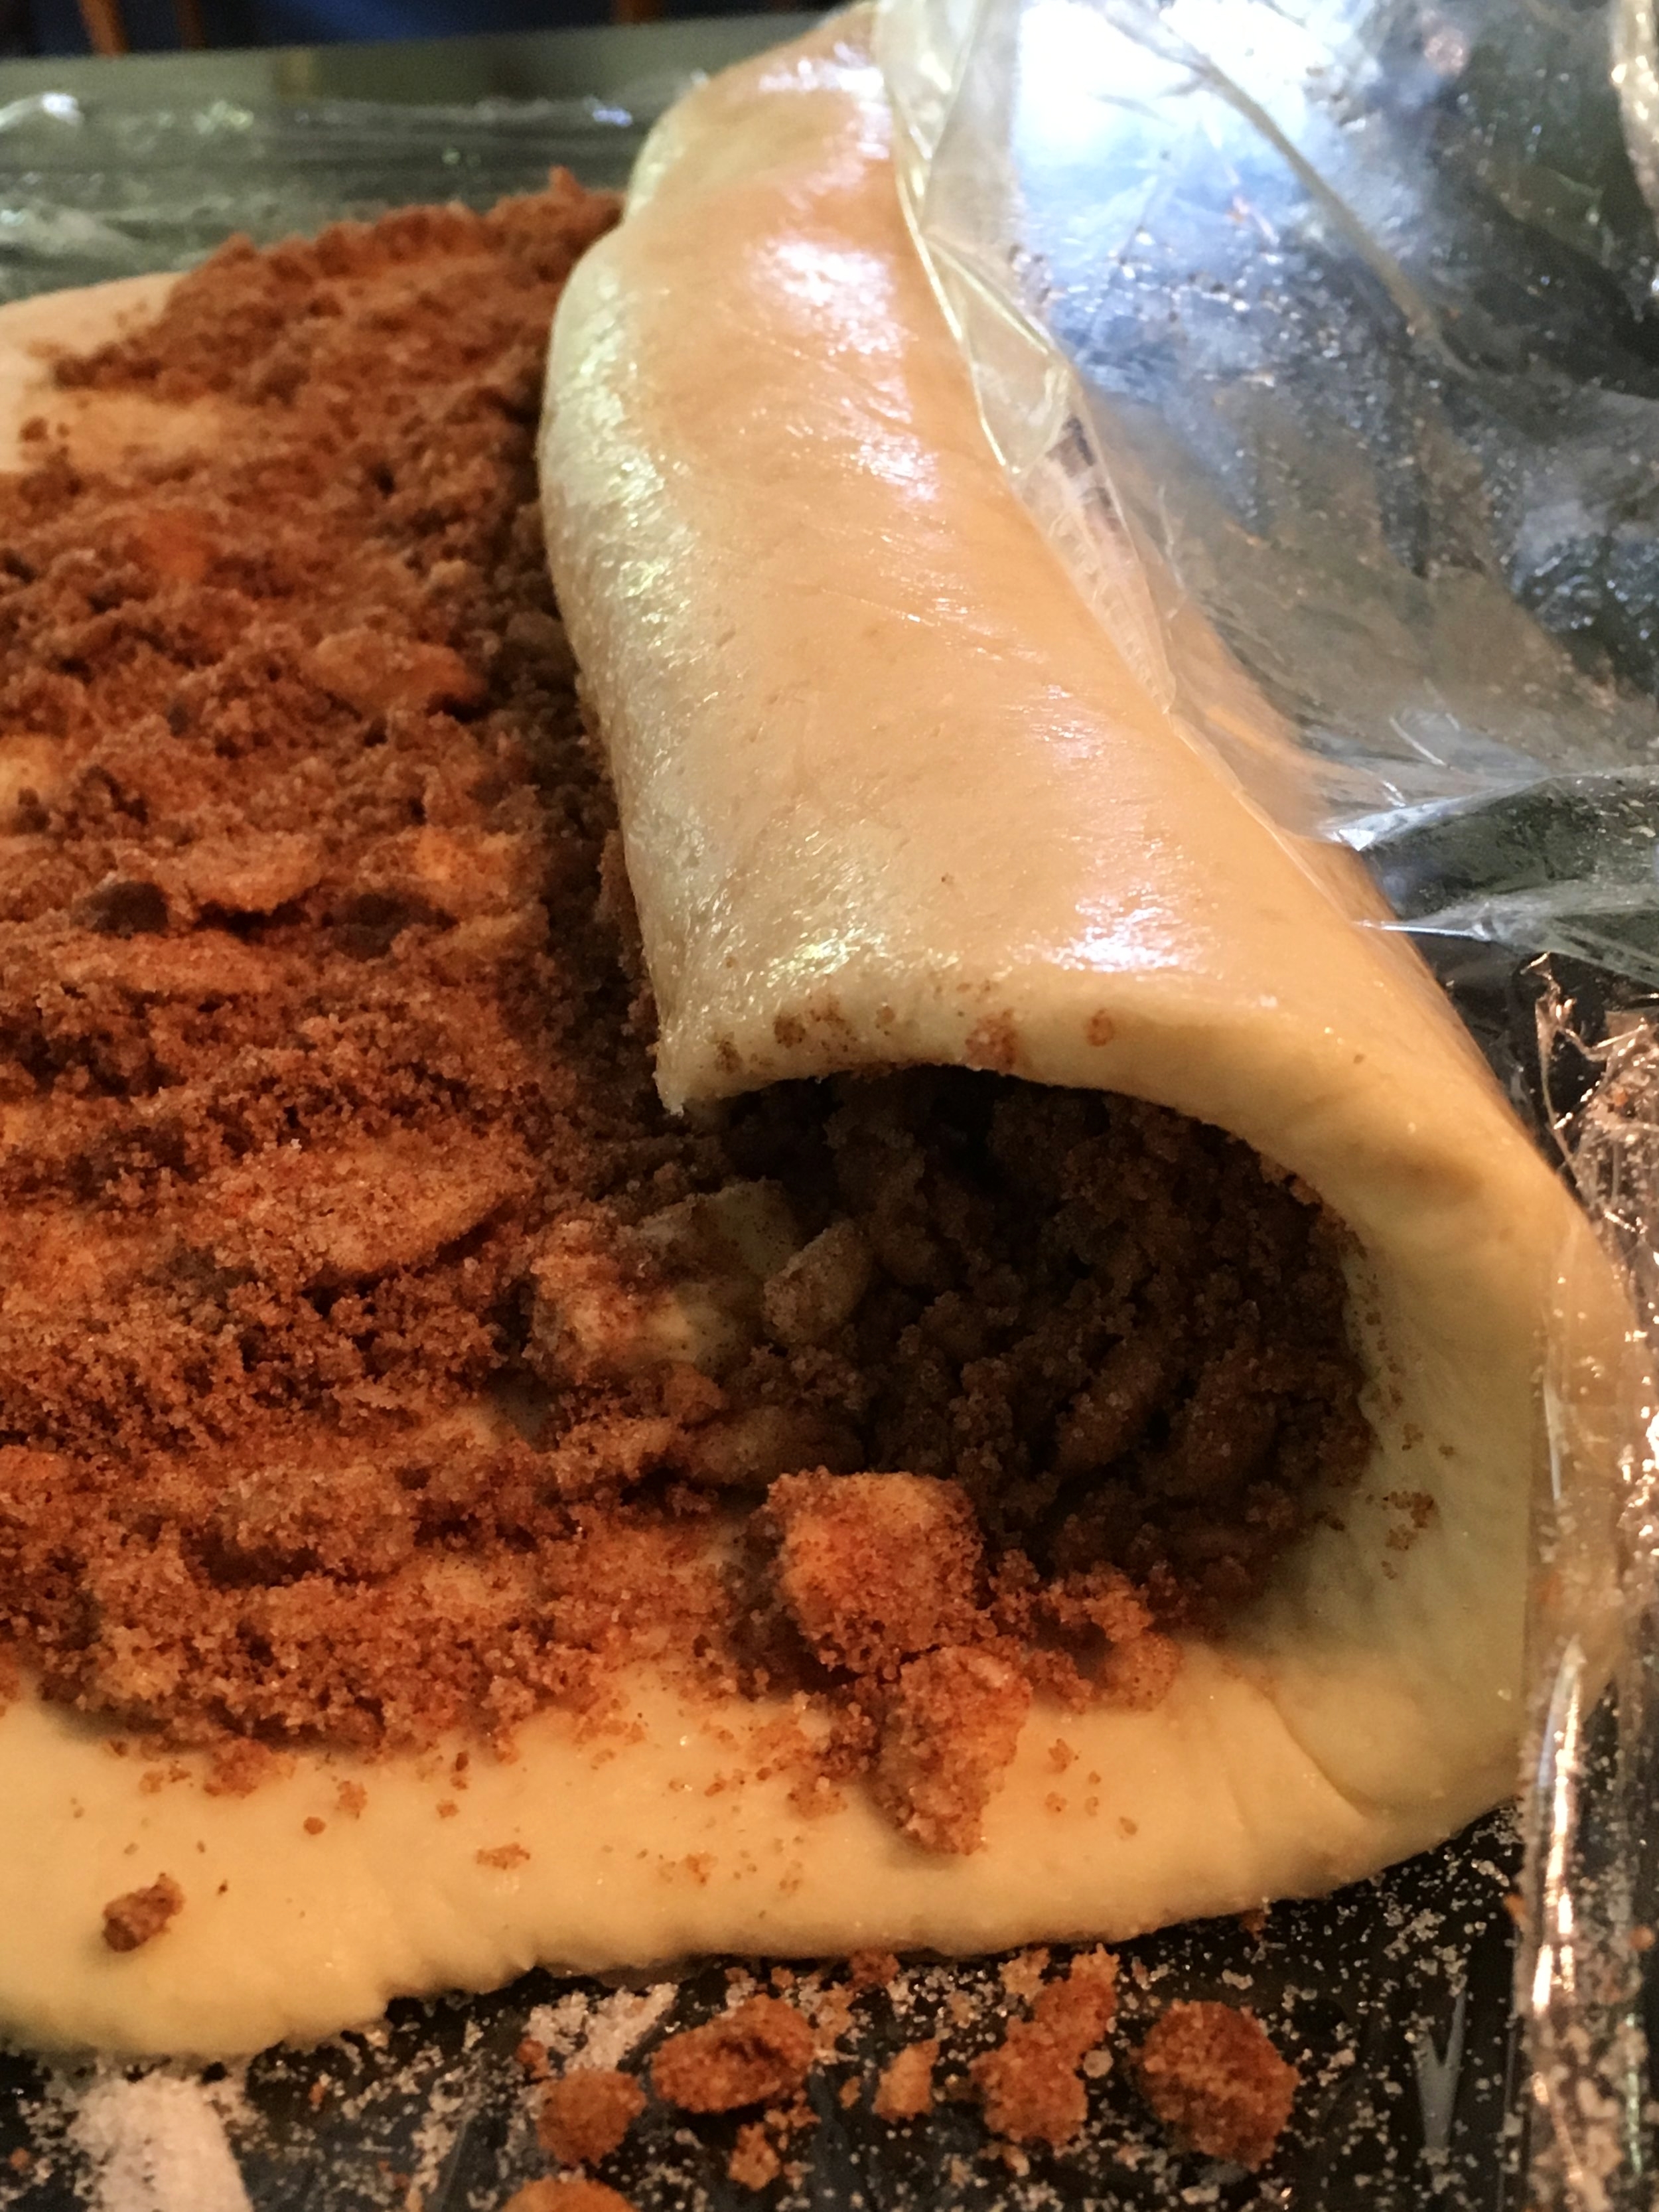
Once your dough is all rolled out, remove the top layer of plastic wrap and spread the butter-cinnamon sugar filling evenly across the surface of the dough, leaving about a 1-1/2" border empty along one of the long sides of your dough rectangle. This empty border will be the outer spiral of your cinnamon roll.
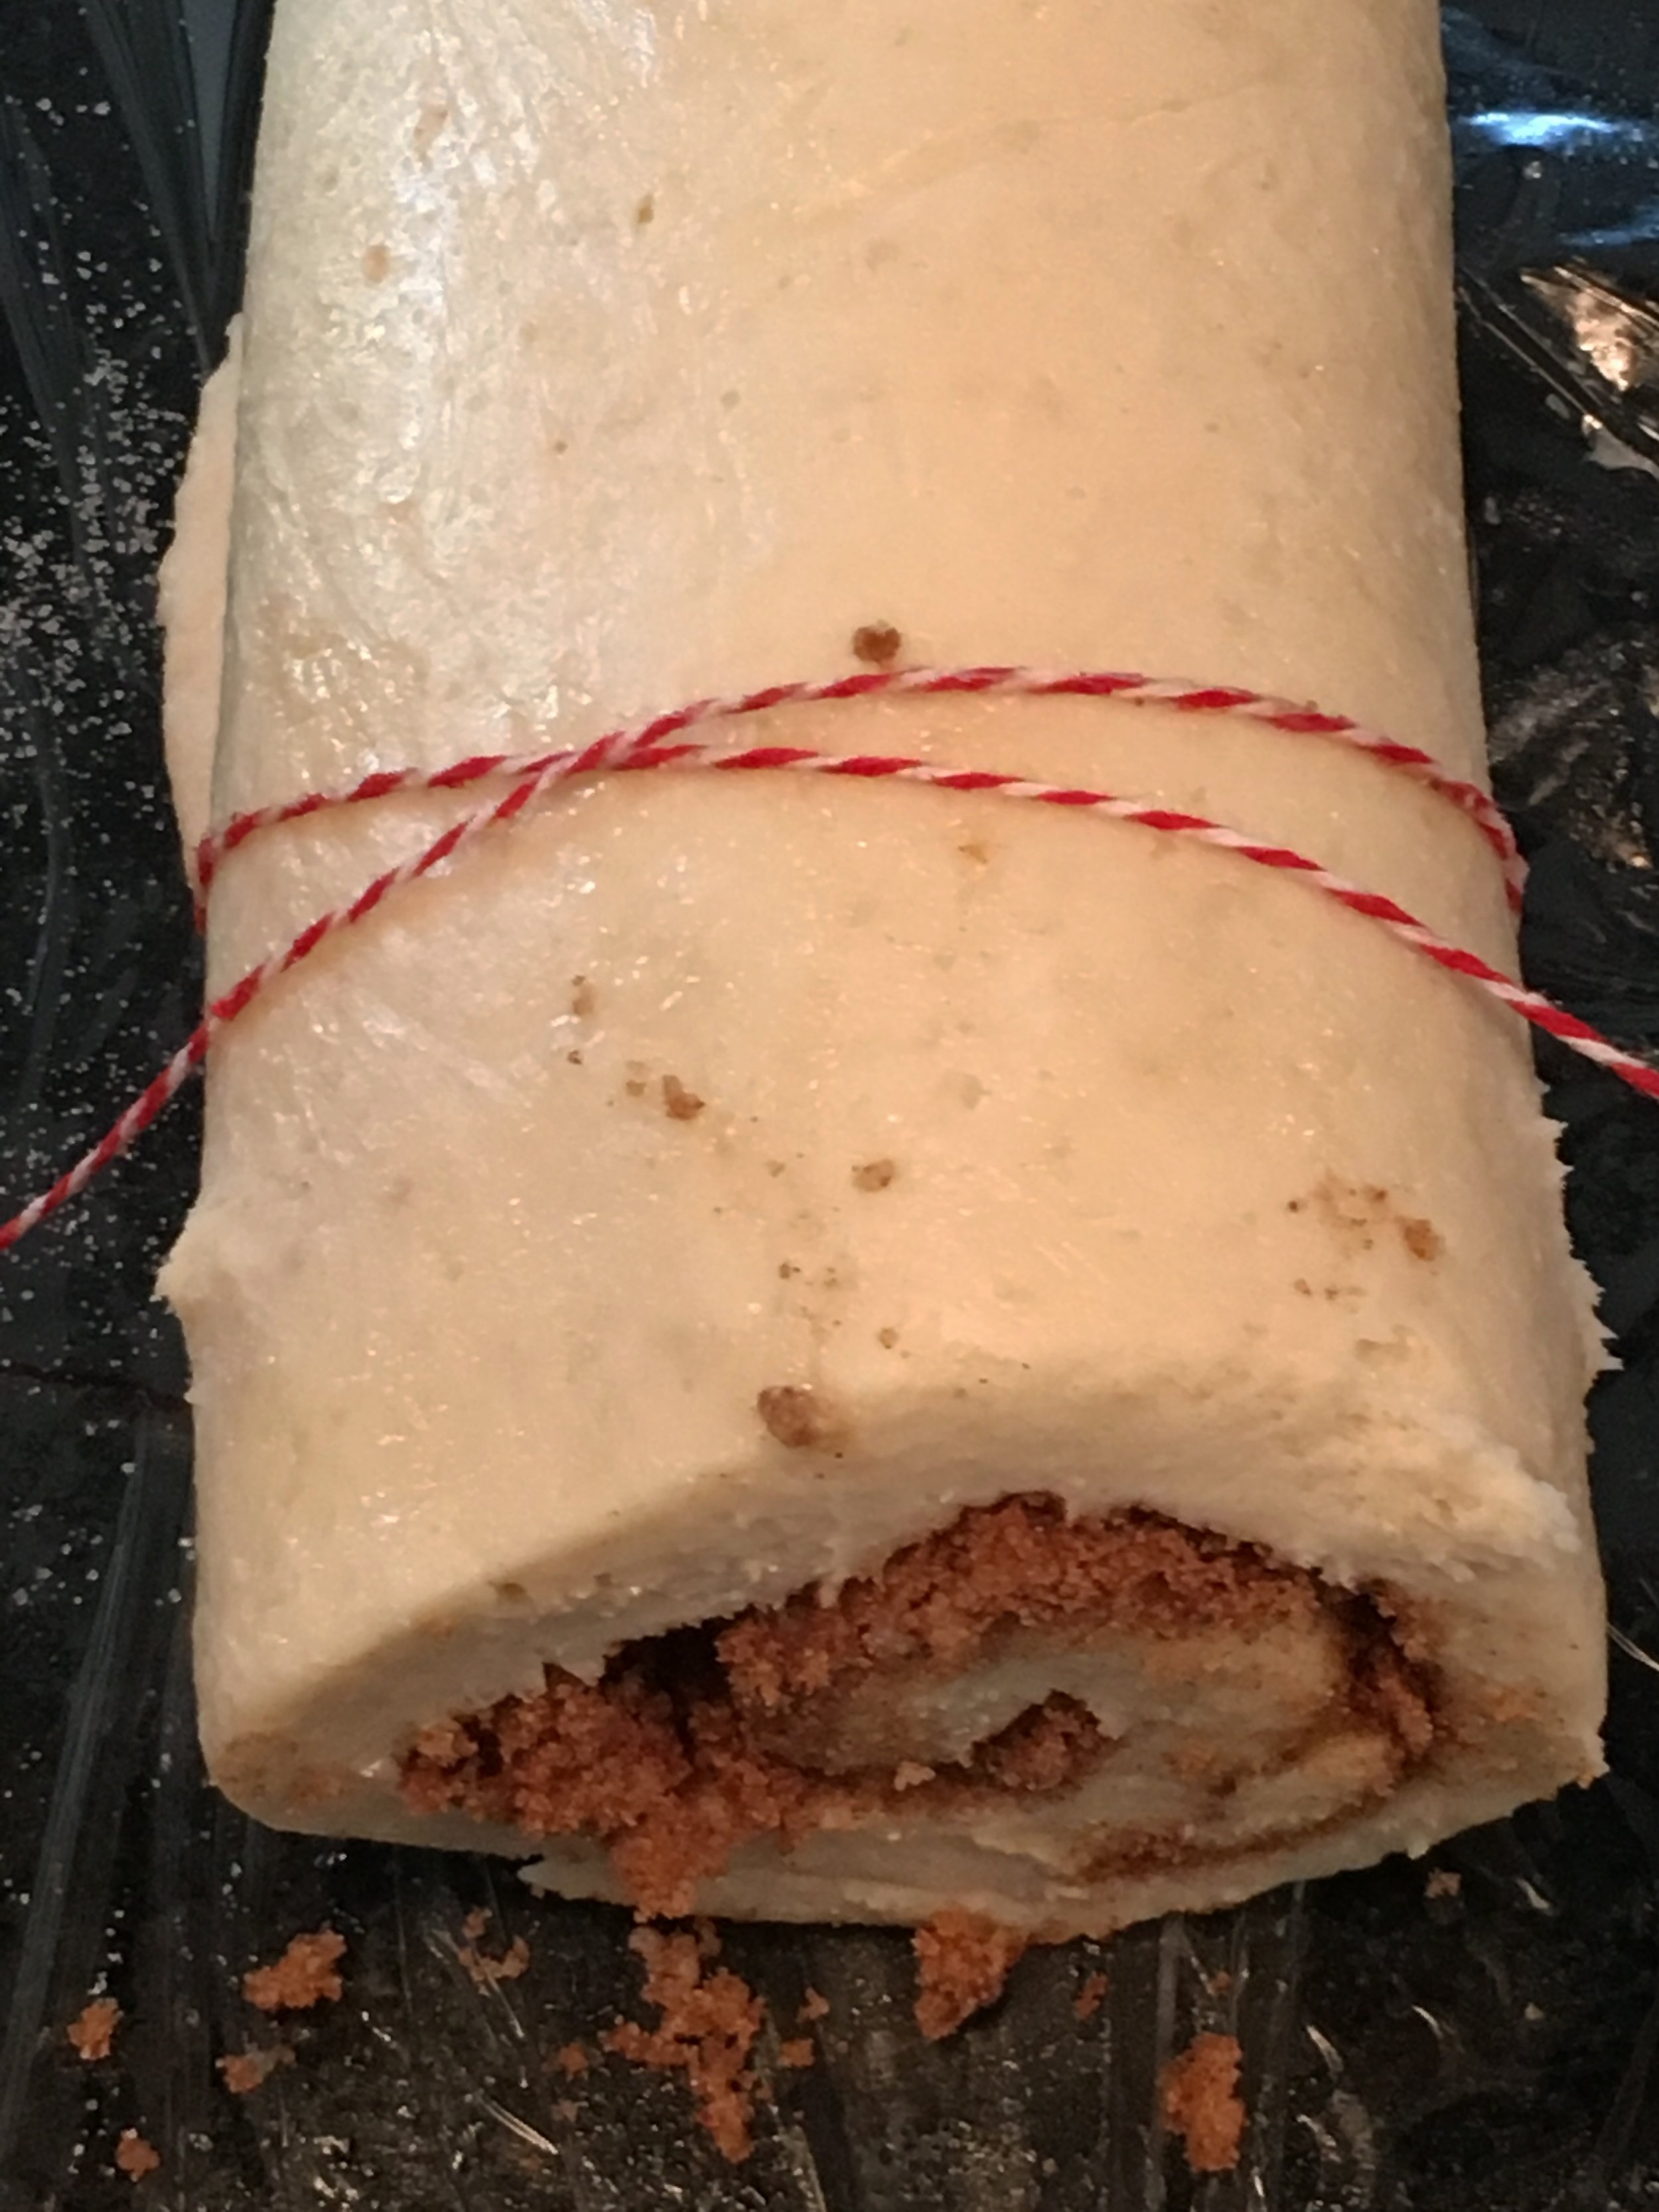
Now, comes the rolling. This is a little tricky, but take it nice and slow and don't be afraid to manhandle your dough a little bit. Starting with the long side of the dough that has filling spread to the edge, begin lifting up the plastic wrap and rolling the dough onto itself. Continue rolling until you have a nice, long log of raw cinnamon roll. My rolls are not super-tight, but not super-loose either.
Slide an approximately 18" long piece of kitchen twine under the cinnamon roll, about 1-1/2" from the front of the log. Lift the ends of the twine up, criss cross the ends, and pull them away from each other. One cinnamon roll should now be cut from the log. Lift this up and place gently in the topping-filled lasagne dish. Continue using the twine to cut the cinnamon roll log into 10-12 more cinnamon rolls. Could you use a knife instead to cut your rolls? Probably, but it would definitely compress your rolls as you slice down, and you might end up with some oddly-sloping rolls.
If you're planning on baking your rolls the next morning, wrap the lasagne dish tightly in plastic wrap and place in fridge. If you'd like to bake them up within a week, wrap the dish tightly and freeze until the night before you are ready to bake, at which time you'll remove the dish to defrost in the refrigerator overnight and then follow the instructions for next-day baking.
Is it the next day and time to bake? Your dish (whether frozen for up to a week in the freezer or not) has been sitting overnight in the fridge. Remove the plastic wrap, and place dish in a cold oven. Turn oven to bake at 350 degrees. Set a timer for 2-3 minutes. After 2-3 minutes, turn your oven off and let the cinnamon rolls rise in the slightly warm oven for 40 minutes. Do not open your oven to check on them... just let them grow and rise in the dark warm oven. (If you're celebrating Christmas, drink some coffee and watch your kids tear into their presents.)
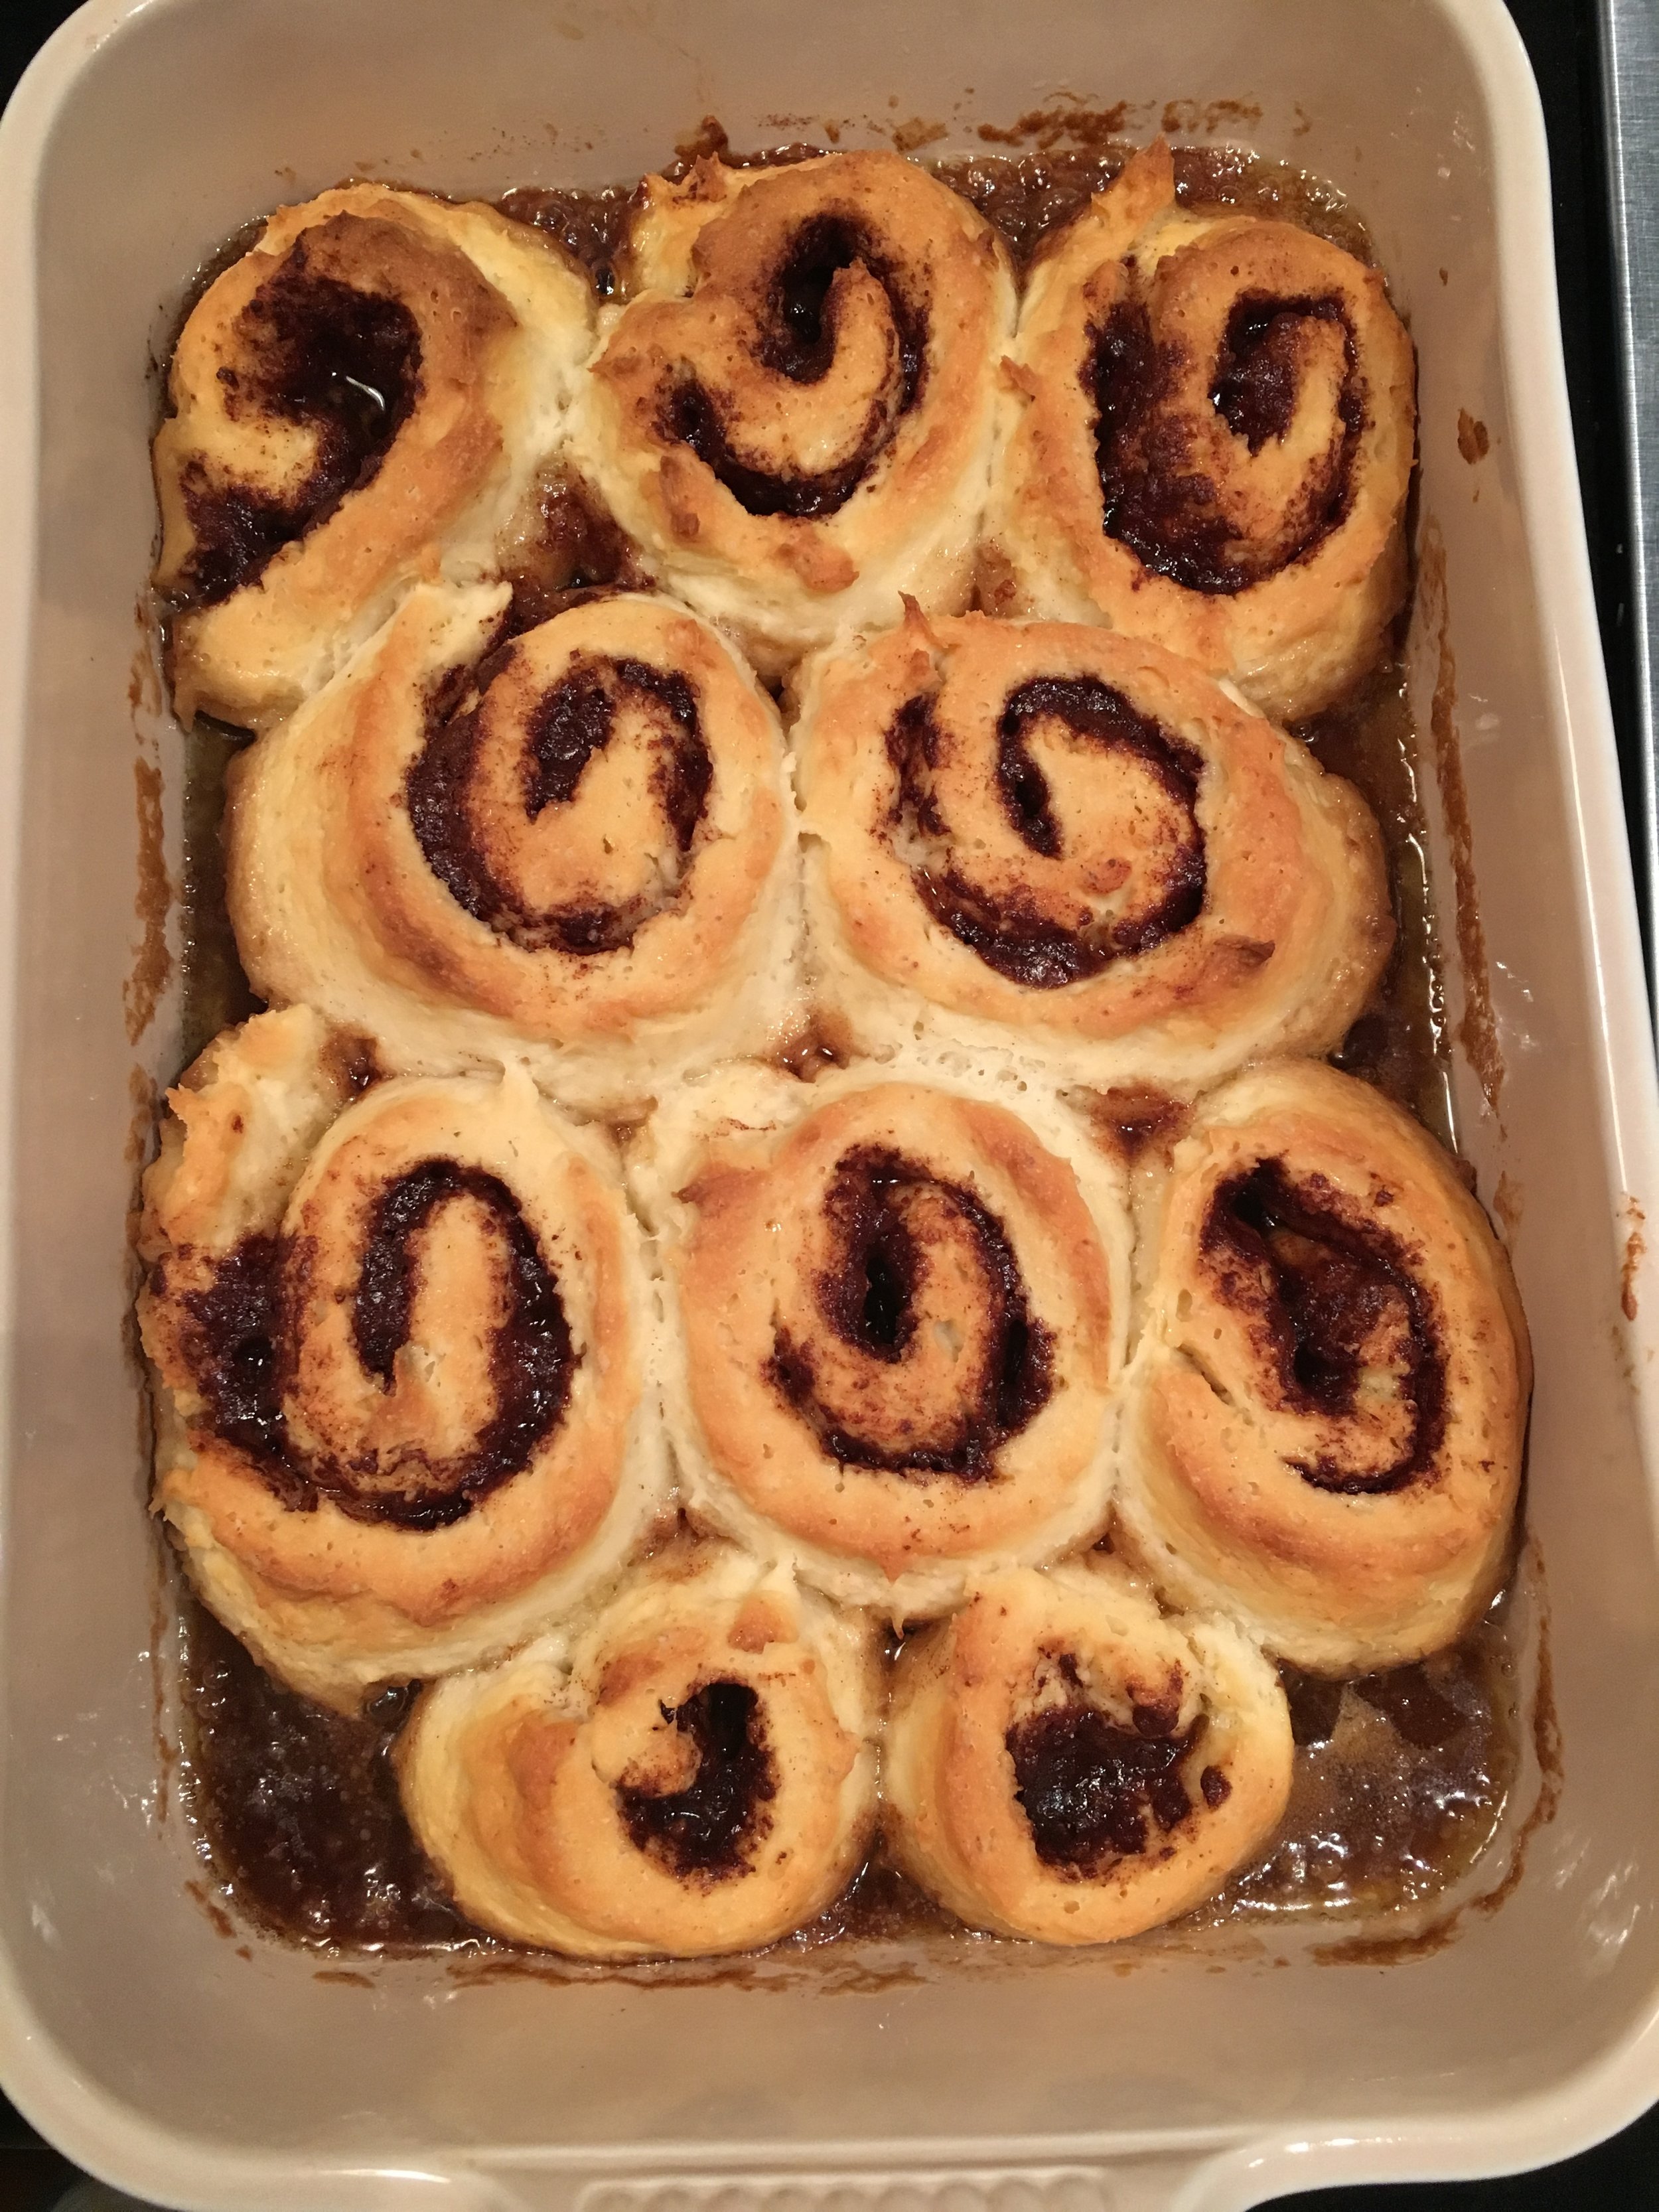
After 40 minutes, remove the dish from the oven. Your cinnamon rolls should have nearly doubled in size and filled in lots of the empty space that might have been in the dish. Now, preheat the oven to 350 degrees. Once it comes to temperature, return the cinnamon rolls to the 350 degree oven and bake for 20 minutes, rotating the dish after 10. After 20 minutes, check the tops of the cinnamon rolls. If they are not a nice golden brown, let them cook another 5 minutes or so, just until you like the coloring on top.
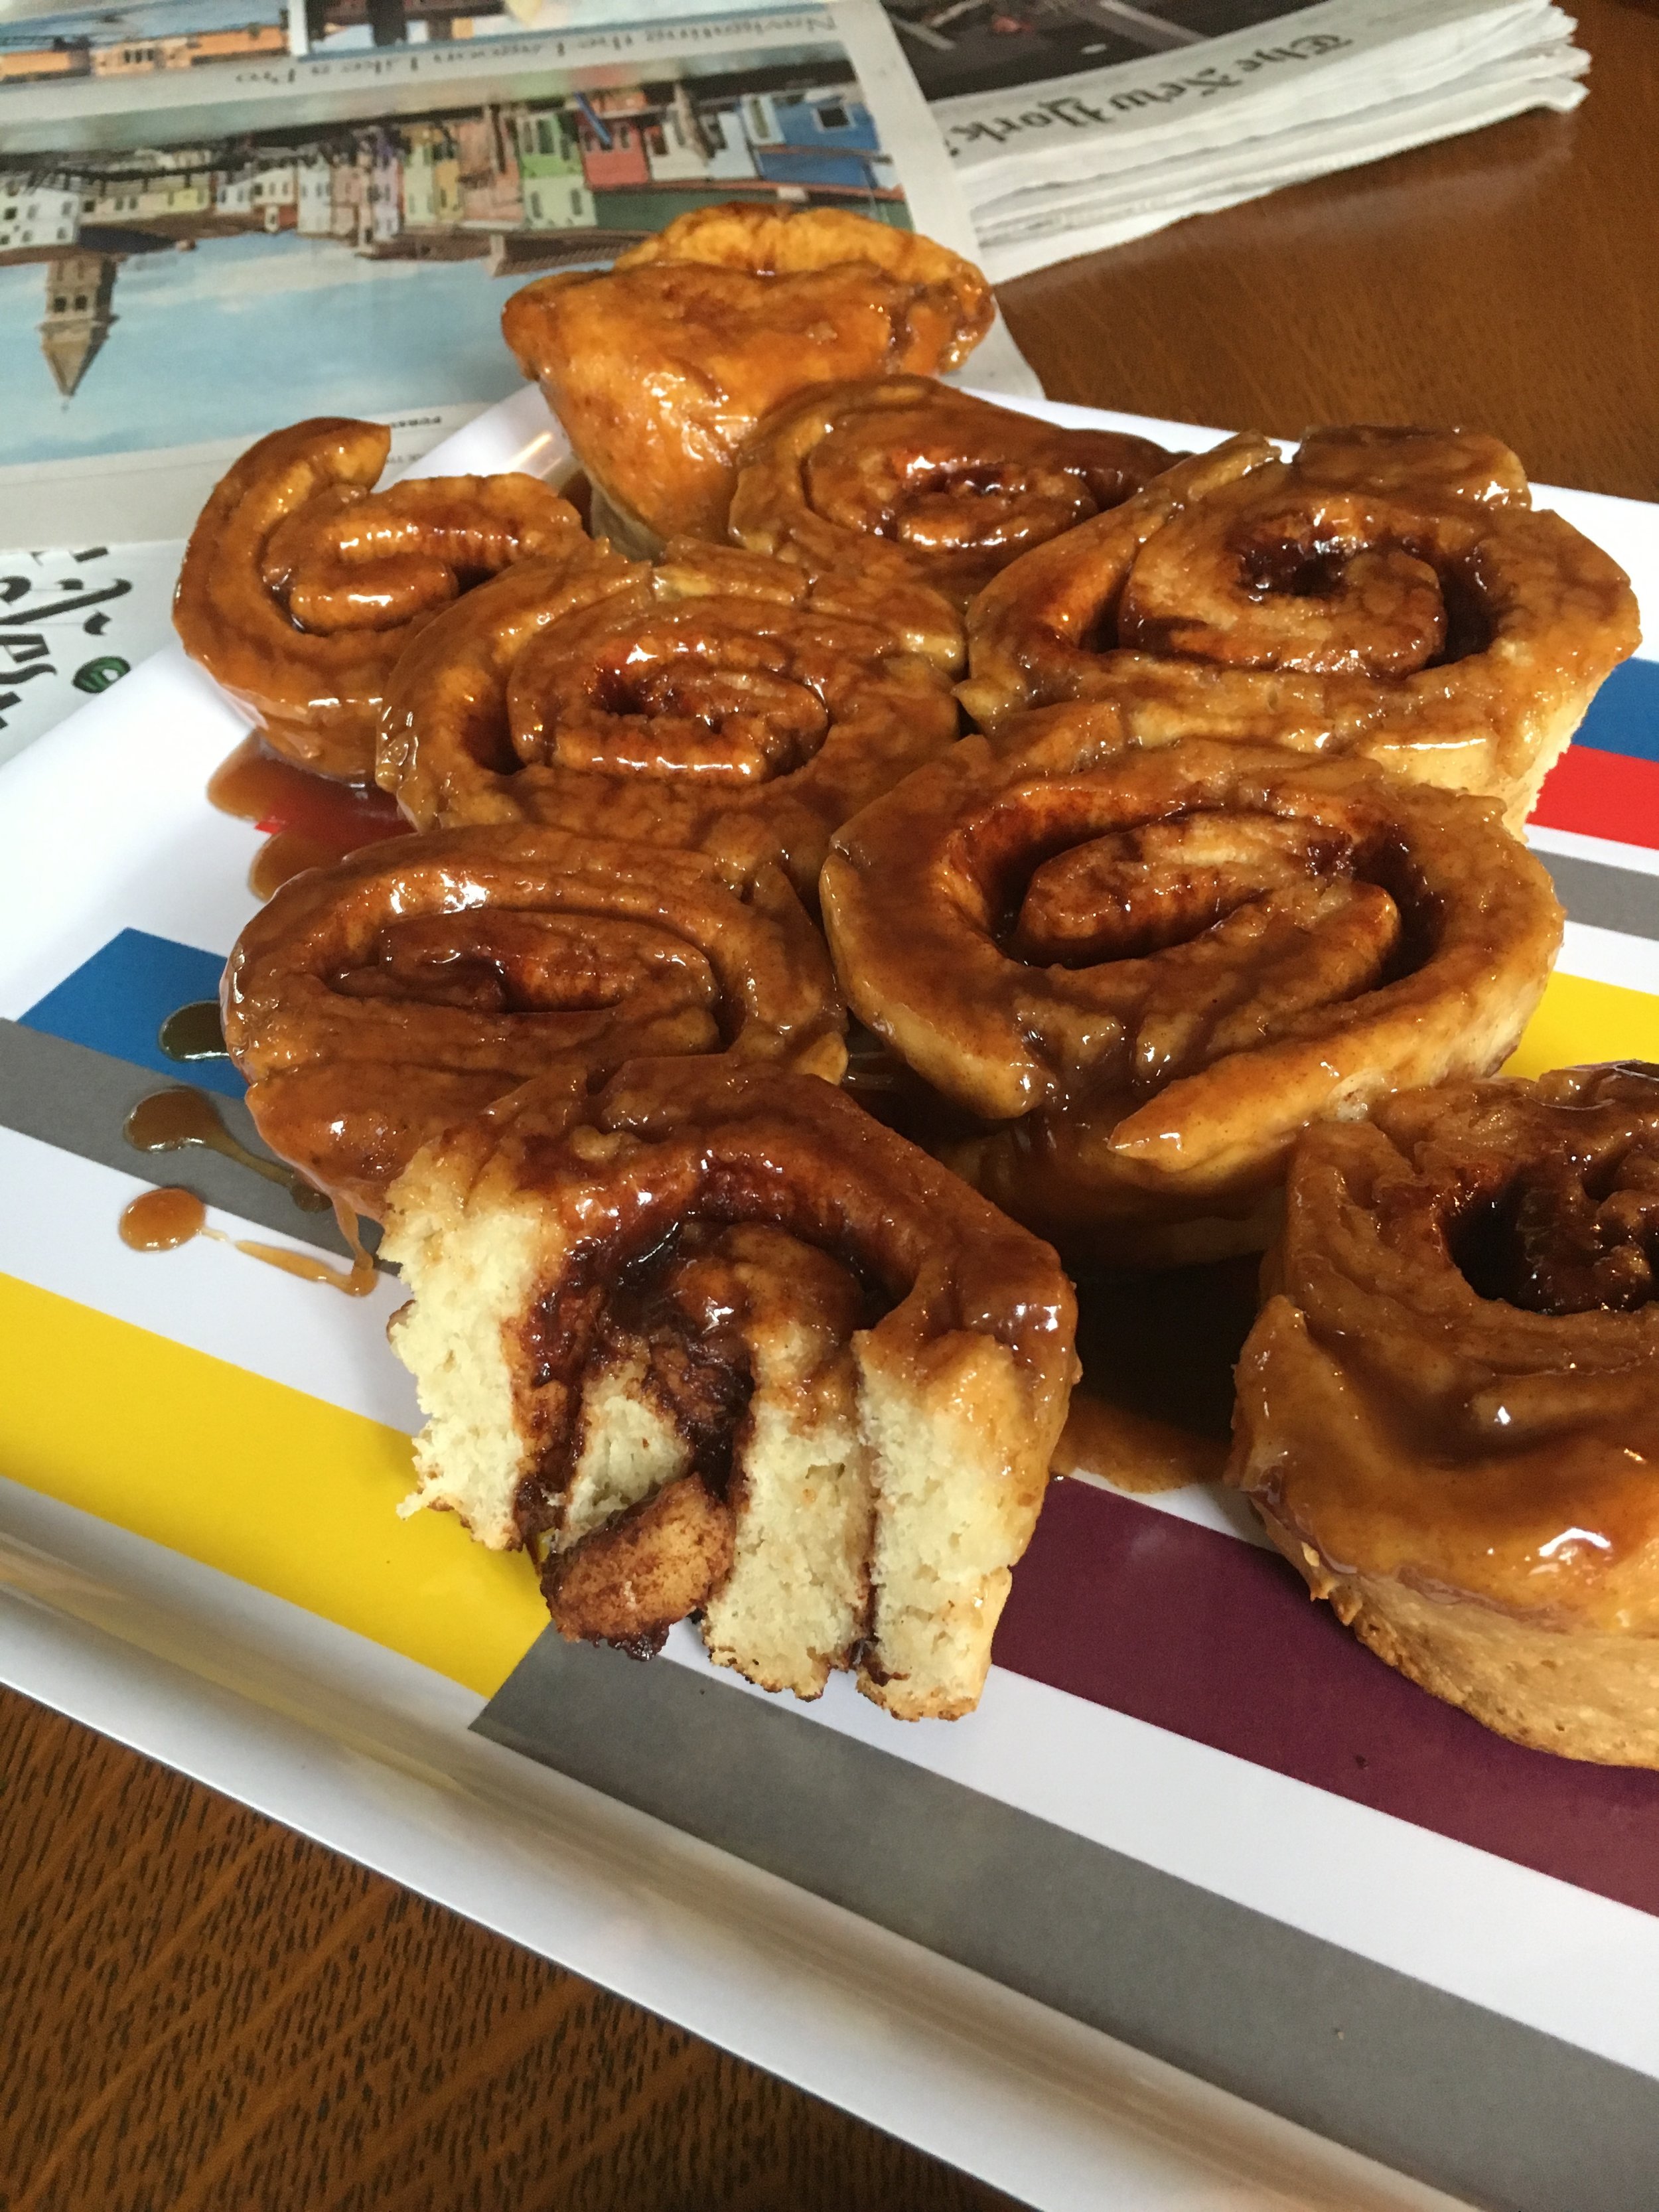
Once golden brown, remove cinnamon rolls from the oven. Breathe in that scrumptious cinnamon-sugar smell (ahhhhhh.....) and let them sit for approximately 5 minutes. Place a large tray or plate on top of the cinnamon roll dish and invert the cinnamon rolls onto the tray. The topping should ooze down, syrupy and deliciously over each roll.
Serve rolls warm. They will be softest the first morning and toughen up a bit as the day goes on. Although, chances are you won't have any left after an hour! Feel free to warm gently in the microwave or oven.