

mother recipe: vanilla cream sauce (creme anglaise)
/

Vanilla Cream Sauce (Creme Anglaise), makes about 2.5 cups
- 6 TBSP sugar (72g)
- 2 cups whole milk (480g)
- 1 vanilla bean, split & scraped (Nielsen Massey is GF)
- 6 large egg yolks
- 1/8 tsp kosher salt
At the start of "Sugar Rush," Izzuini spends a few pages talking about how he got into baking, how you should measure ingredients, how you should set up your workspace before you start baking, and how you should read through a recipe carefully before you begin. So, I really really tried to do this for my first ever Cookbook Challenge recipe. I swear, I did... but, as you'll see, I may not have been careful enough. But, let's not jump ahead of ourselves.
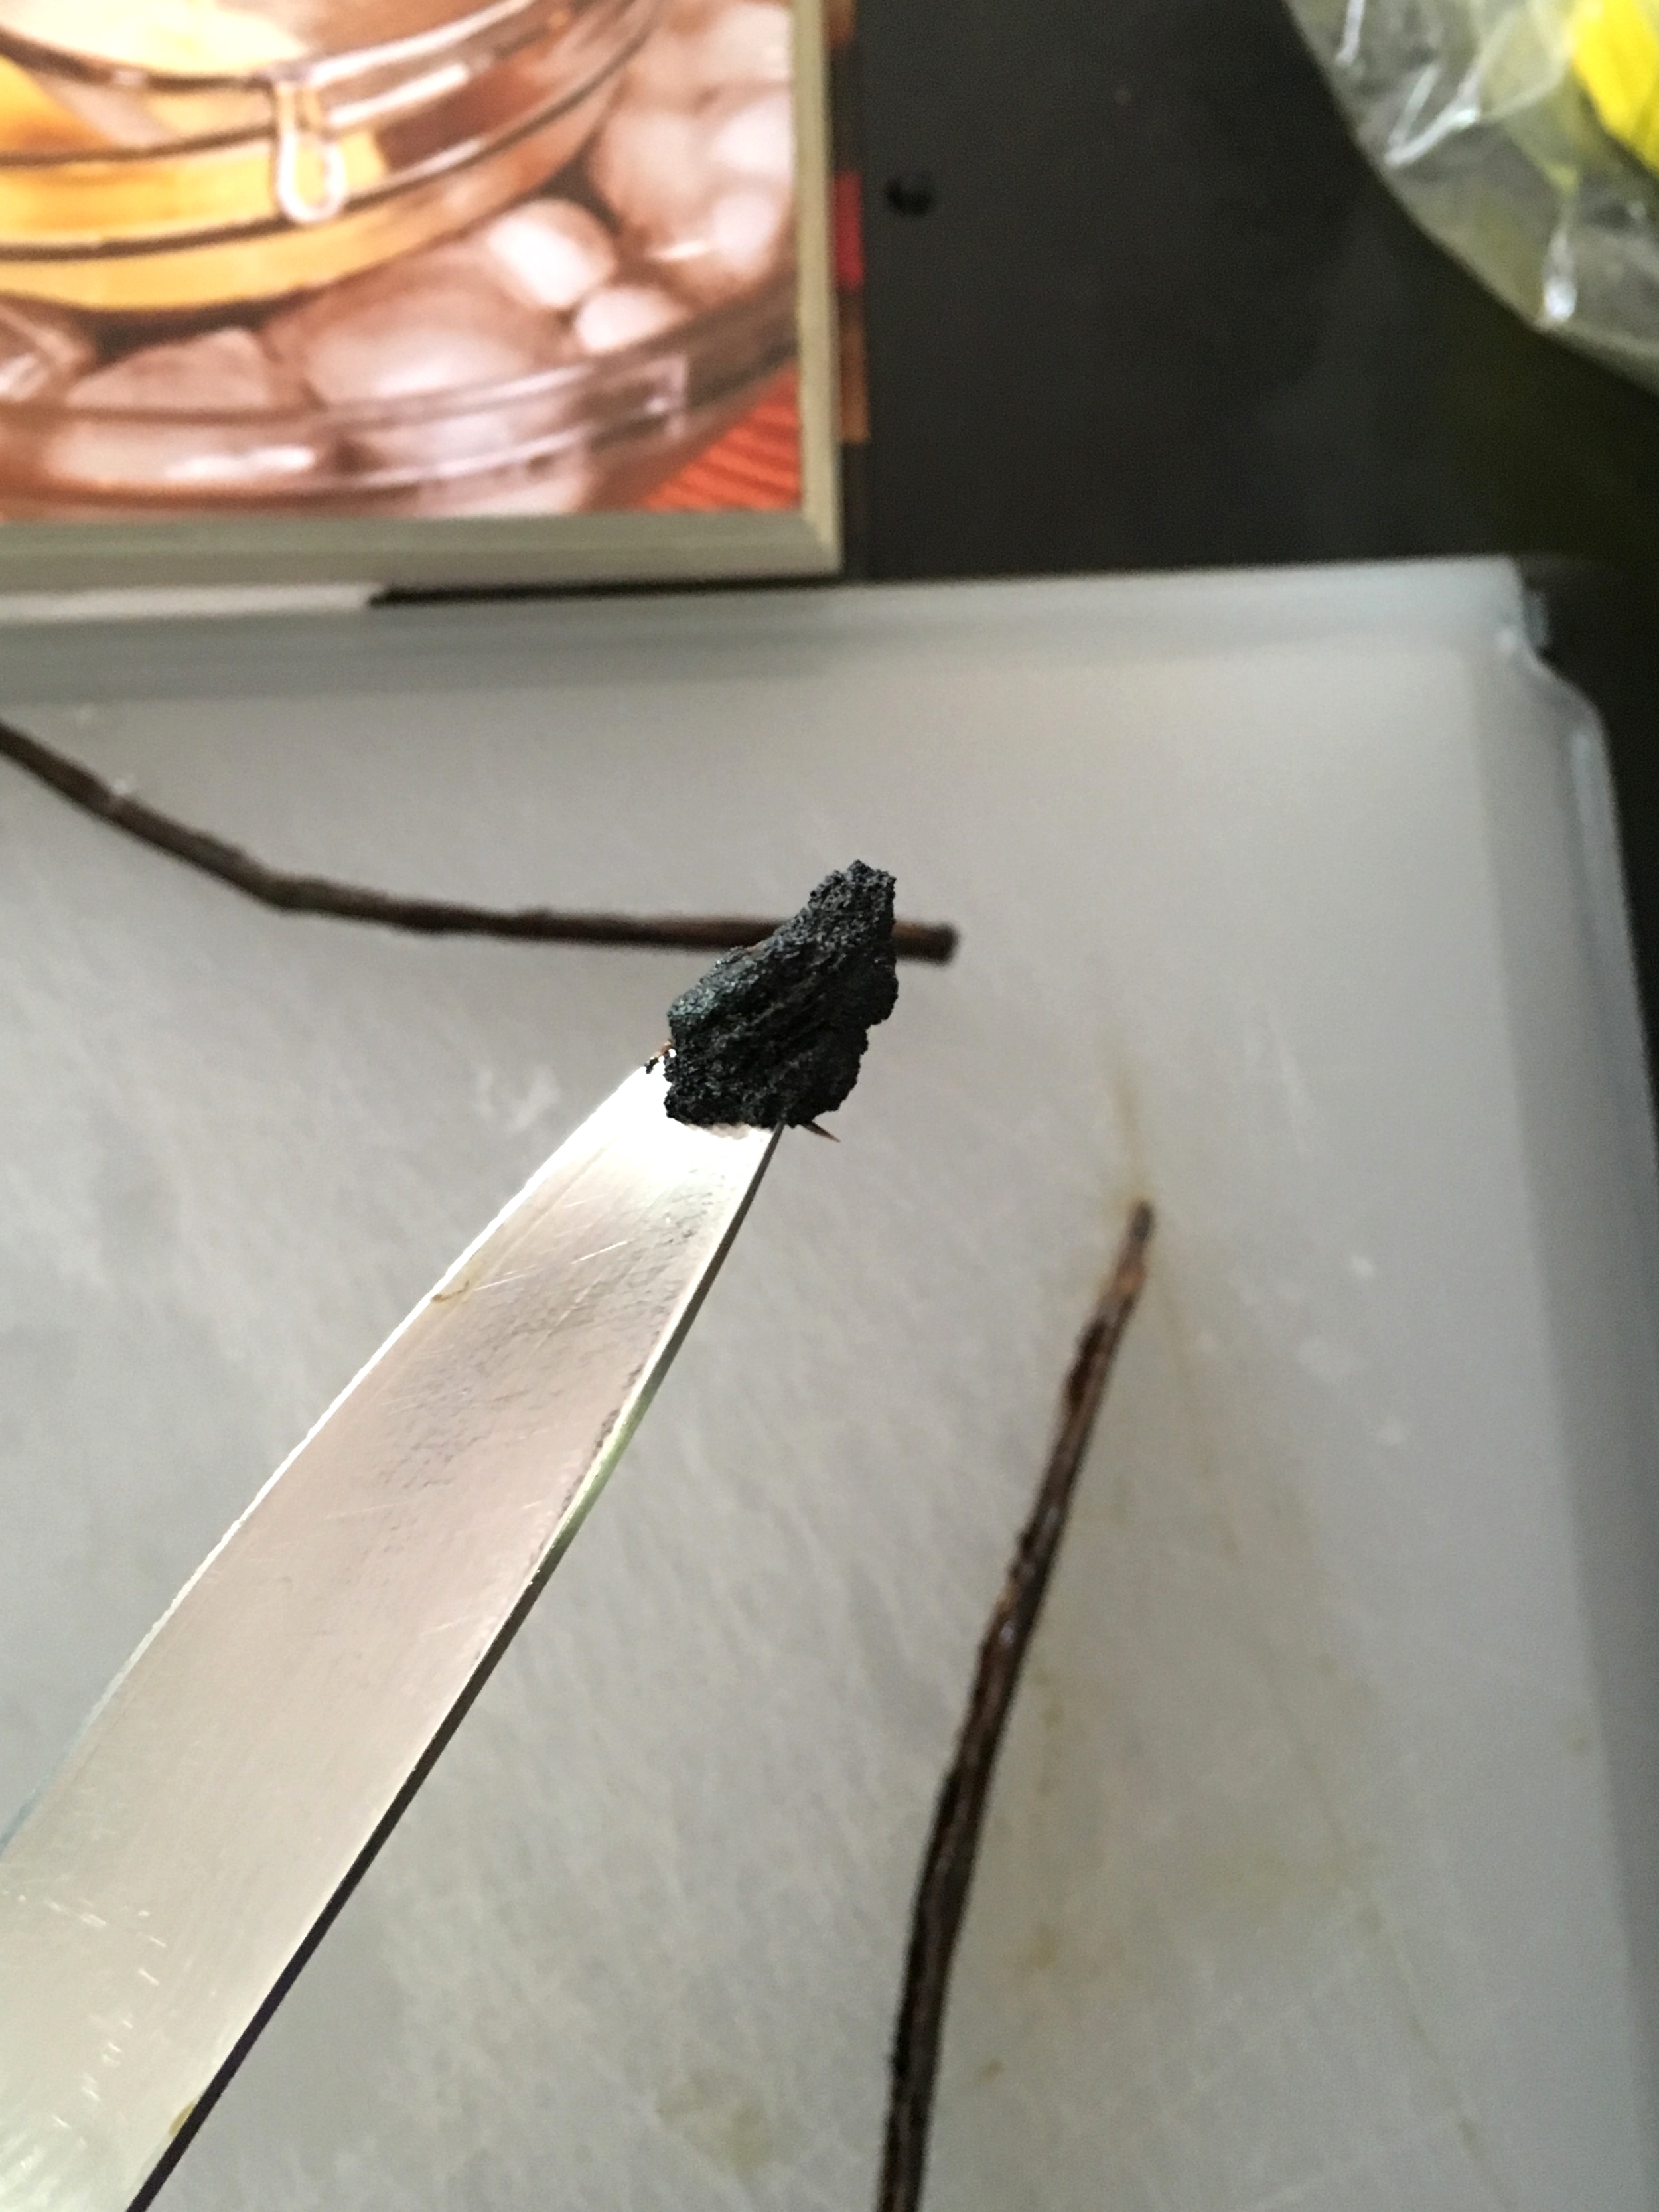
His first direction is to "prepare an ice bath in a large bowl." So, I immediately had to think through the entire recipe to figure out how big this ice bath should be. Bathtubs are HUGE, does it need to be that big? OK, that's my Kindergarten humor coming out.... sorry. Since the recipe is only supposed to yield about 2.5 cups of creme anglaise, I worked backwards from there and filled one of my larger glass mixing bowls with ice. OK, ice bath set. Next, I decided I should measure out my ingredients. (See, I was listening, Johnny!) First, I split and scraped out my vanilla bean. I'd never done this before, and it was pretty exciting to see those black vanilla seeds piling up on my knife tip. I got my vanilla bean prepped, measured out 18 grams (or about 1.5 TBSP) sugar, and poured the milk into my saucepan.
I also separated my 6 eggs. I use my hands to separate eggs. How do you do it? I think this way is the easiest, but definitely not the least queasiest. (Ha! I'm a poet and I didn't even know it!) Seriously though, I got a little gaggy as I tried to separate out that little white stringy thing-- the chalaza-- from the yolk. I couldn't bring myself to toss the 6 egg whites, so I plan on either making a healthy omelette or some meringues. Who am I kidding? Of course, I'm going to make the meringues. Egg whites will keep in the fridge for 2-4 days. I also measured out the remaining 54 grams sugar and the 1/8tsp salt and set out my tools-- a fine mesh seive, a clean bowl, a whisk and a rubber spatula.
Onto the cooking... following the recipe, I heated the milk, scraped out vanilla seeds and 18 grams sugar over medium heat for about 3 minutes. SCREEEEECH. That's the sound of a needle being scratched across a record because here's where I made my mistake. Apparently, you are supposed to include the scraped out vanilla bean as well in this mixture. Don't make my mistake... although I believe it is fixable.
THIS is what you should do: whisk together your 18 grams of sugar, vanilla seeds & bean, and milk in a saucepan over medium heat for 3 minutes or just until the mixture is beginning to bubble on the edges. Do not let your mixture come to a boil. Take the pot off the heat.
Now, move over to your bowl of 6 egg yolks. Add 4.5 TBSP (or 54 grams) sugar and your salt to the yolks. Shake out your arms and start whisking. Whisk and whisk and whisk and think of it as your arms workout for the day. The mixture will start out bright yellow and you'll know you're done when your arms are about to fall off and the mixture has turned a much lighter color and your whisk creates a trail as it drags through the yolk mixture. It's a lot of whisking, but you can see from my pictures above that the yolk mixture really will change color.
Don't go trying to outsmart me and speed this recipe up by whisking your egg yolks while your milk mixture is heating. I wanted to do this, too... but I'm practicing following directions and Johnny says "Do not do this (whisk the yolks) before the milk is hot, as the yolk proteins can actually start cooking and coagulating if the sugar is introduced too soon." That's called "science," I believe.
Once your yolk mixture is thickened and lighter, slowly pour about half of the warm milk mixture into the yolks. Whisk this together until fully combined. This is called "tempering." Don't you feel like a real chef now???
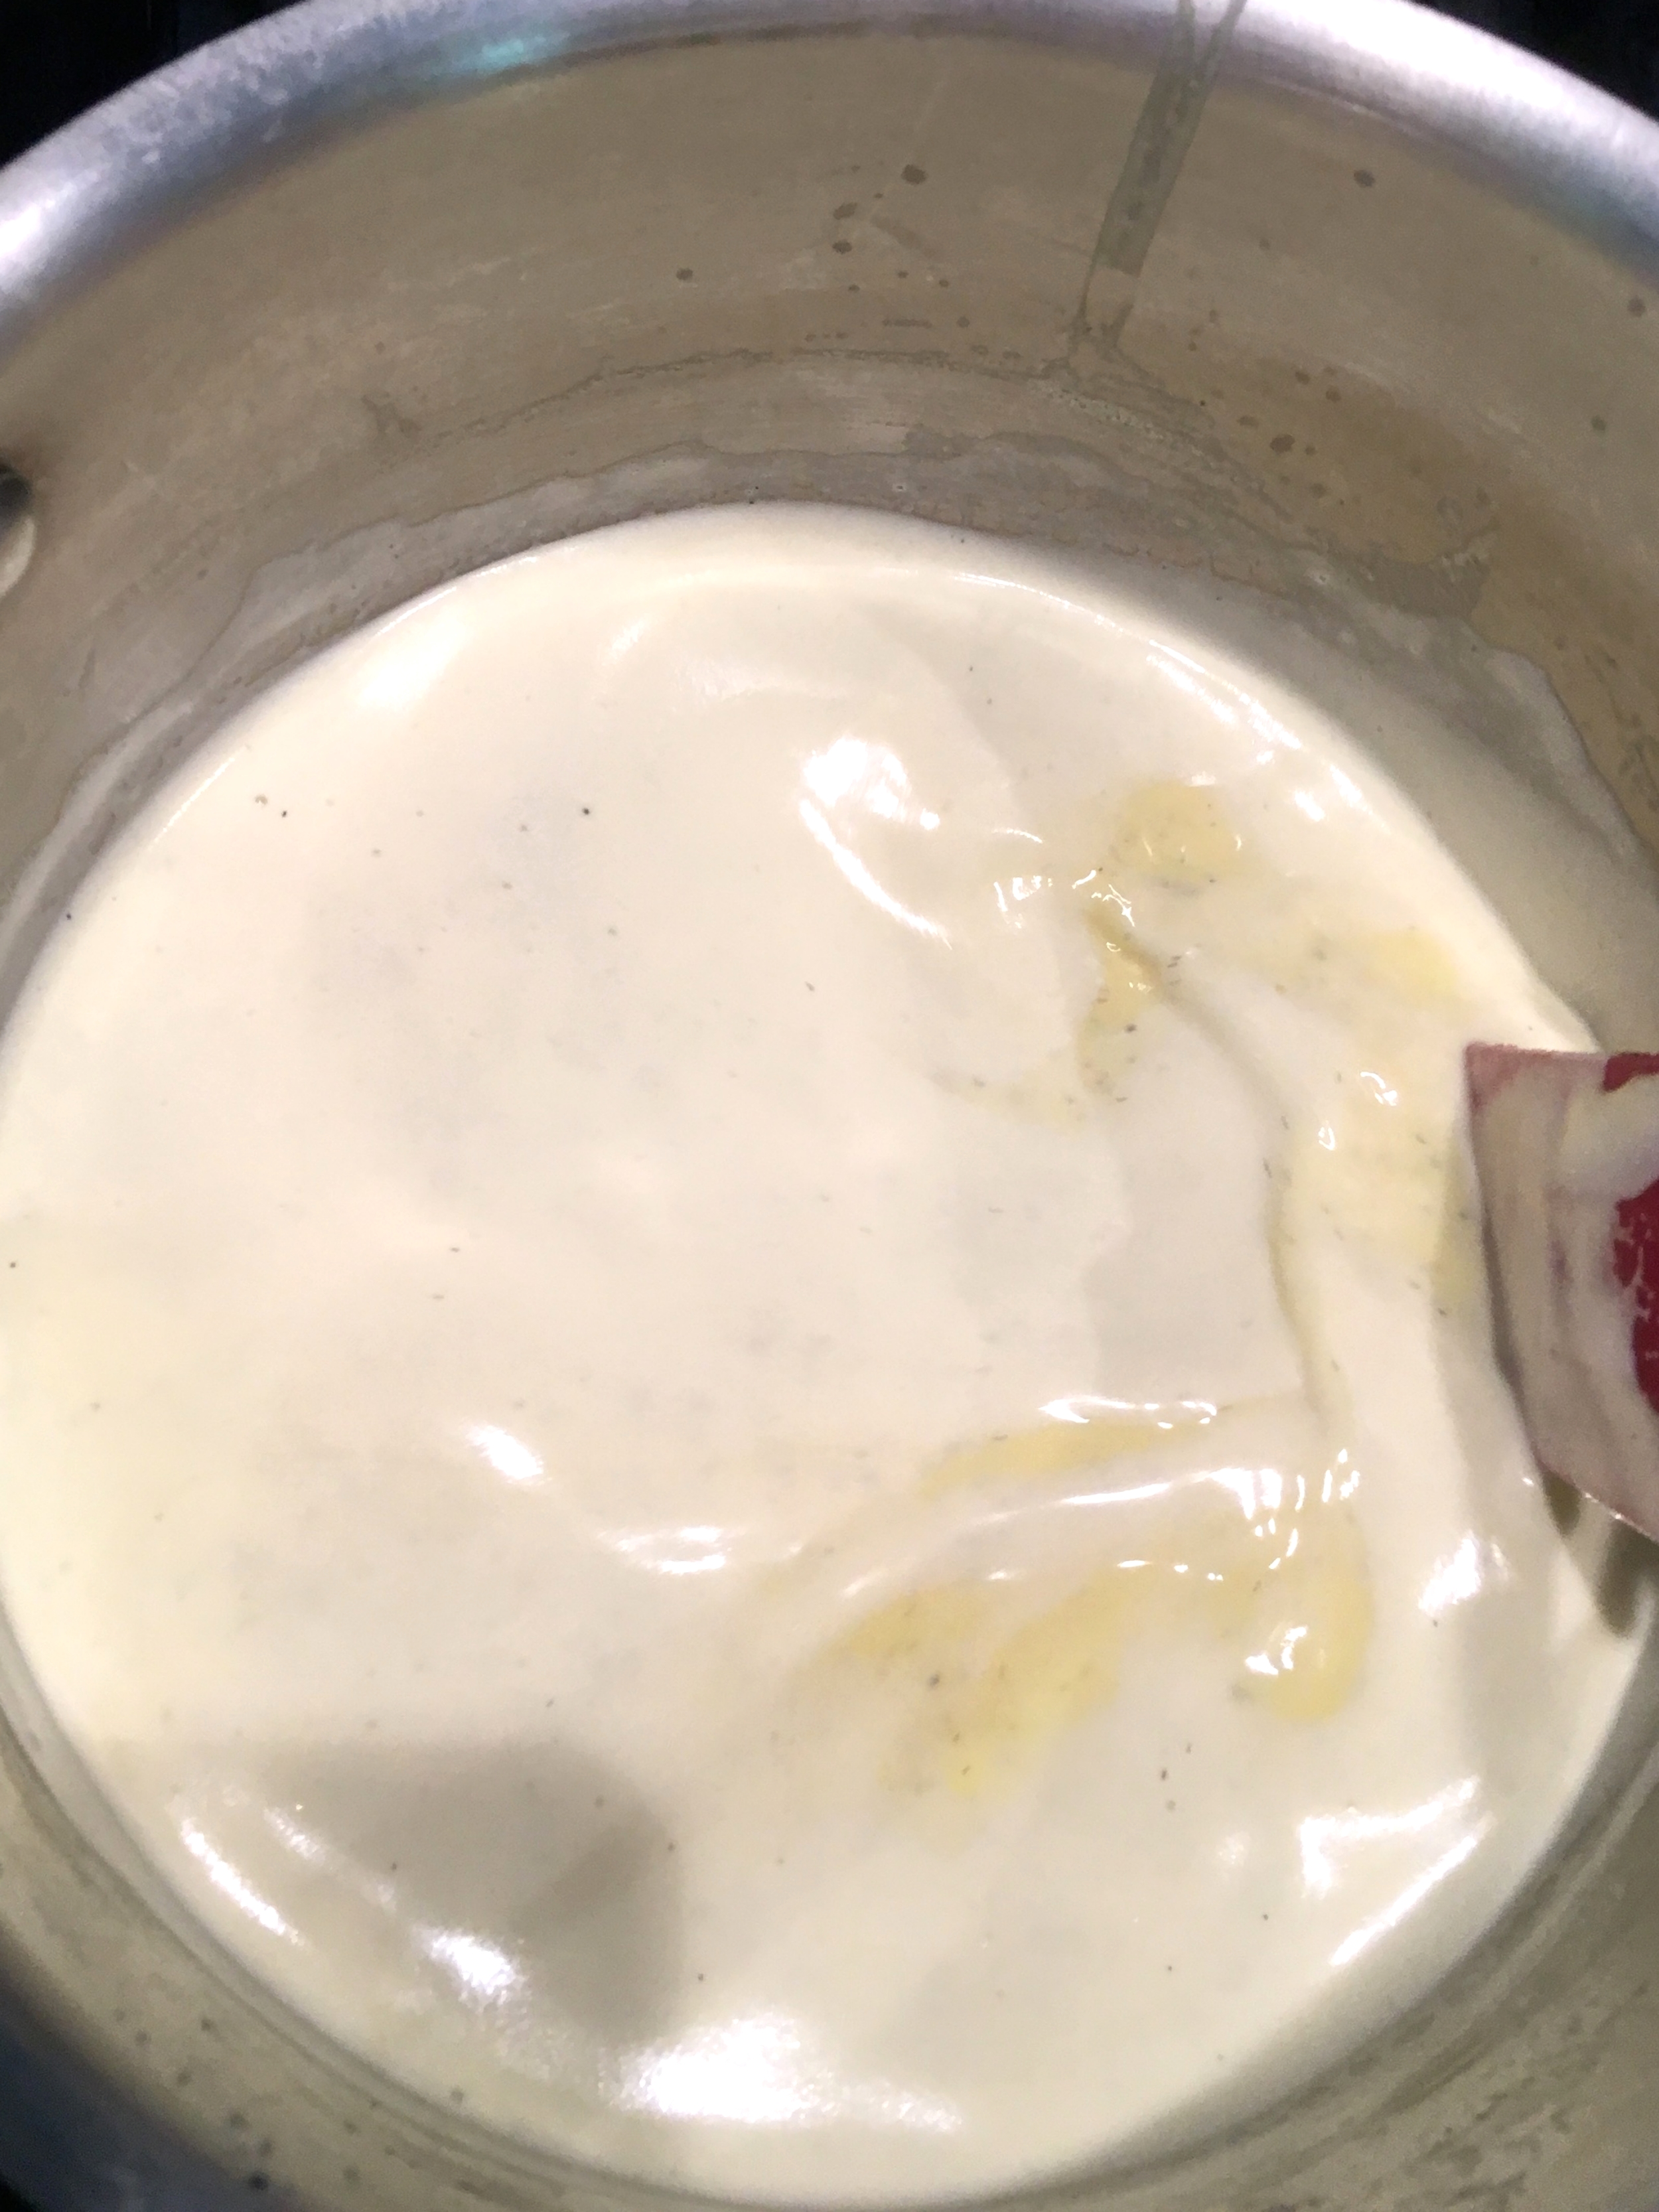
Still off heat, whisk the egg yolk mixture into the remaining milk mixture in your saucepan. Put the whisk down and trade it for your rubber spatula. Johnny doesn't explain why to do this, but I think this is a "science" thing again... like the metal from your whisk might mess up something in the reaction that is happening in the saucepan as the entire mixture is heated to near 180 degrees. This takes approximately 5-8 minutes depending on your stovetop.
I have a handy-dandy Thermapen (that I love) and used it to get the mixture to 180, but if you don't have a thermometer, you can also heat it until it is hot to the touch or until it all becomes a uniform yellow custardy color. You'll notice when you first start stirring the mixture that the top is foamy white, but just underneath is the yellow custard color. You can sort of see this in my picture up above. Once it is hot enough, that white layer will blend in.
The other fancy way Johnny says you can test if it is done is if you place your spatula into the mixture, remove it and holding it horizontally, run your finger across the rubber part. You'll draw a line in the sauce on the spatula and if the line stays there without the cream sauce running down, it's done. If it runs, you need to cook it longer.
Soooo... you have many ways to be sure you cook it long enough. And you want to be sure that you cook it long enough for a few reasons. One, you want your sauce to be fully emulsified and thick(ish). And, two, for those of you nervous about raw food, you want to be sure that your sauce is pasteurized.
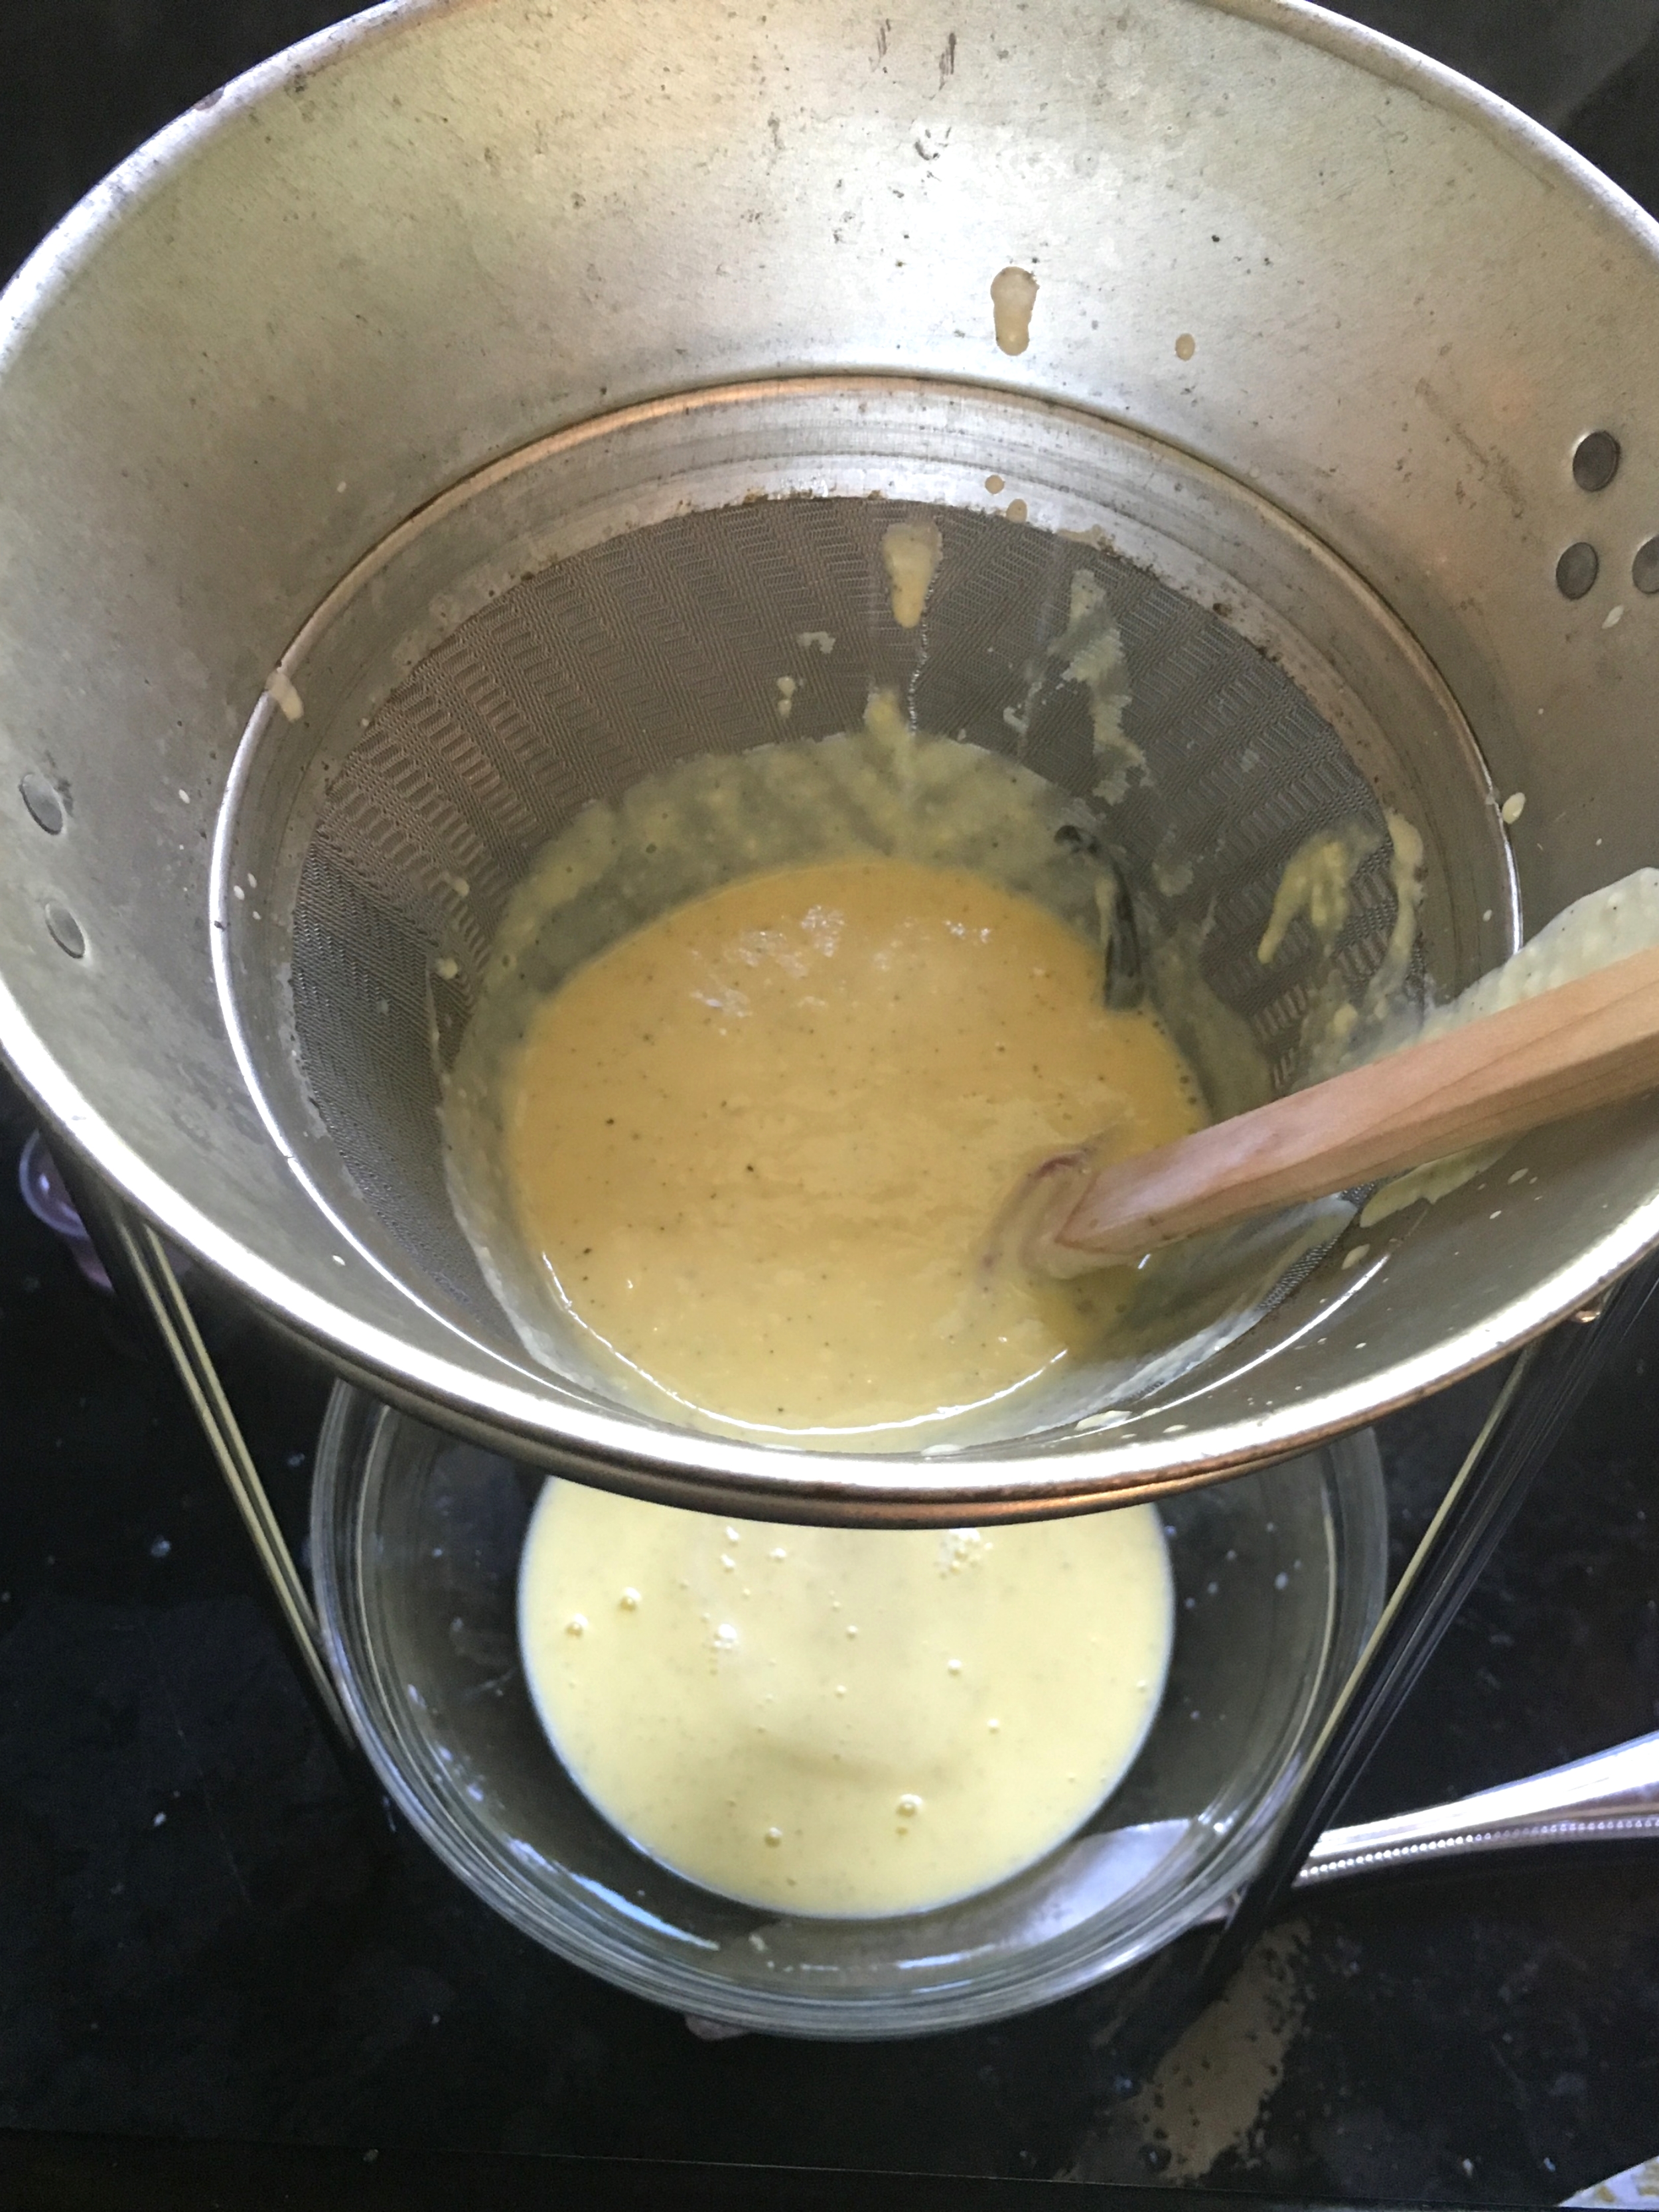
As soon as you reach that magic done point, Johnny says to take the sauce off the heat and run it through your fine mesh strainer. Now, if you had followed Johnny's recipe directions exactly, here is where you would remove your vanilla beans. But, if you had (ahem) not followed the recipe directions exactly, here is where you would realize your mistake and maybe curse a little.
From ice cream making, I know that heating your milk with a flavoring (tea leaves or a vanilla bean) really helps to boost the flavor of the final product. So, this is where I cheated a little. Following Johnny's recipe, I put the strained vanilla sauce into my pre-prepared ice bath, mixed it a little, and added just over a 1/4 tsp vanilla paste. I'm a cheater. I admit it.
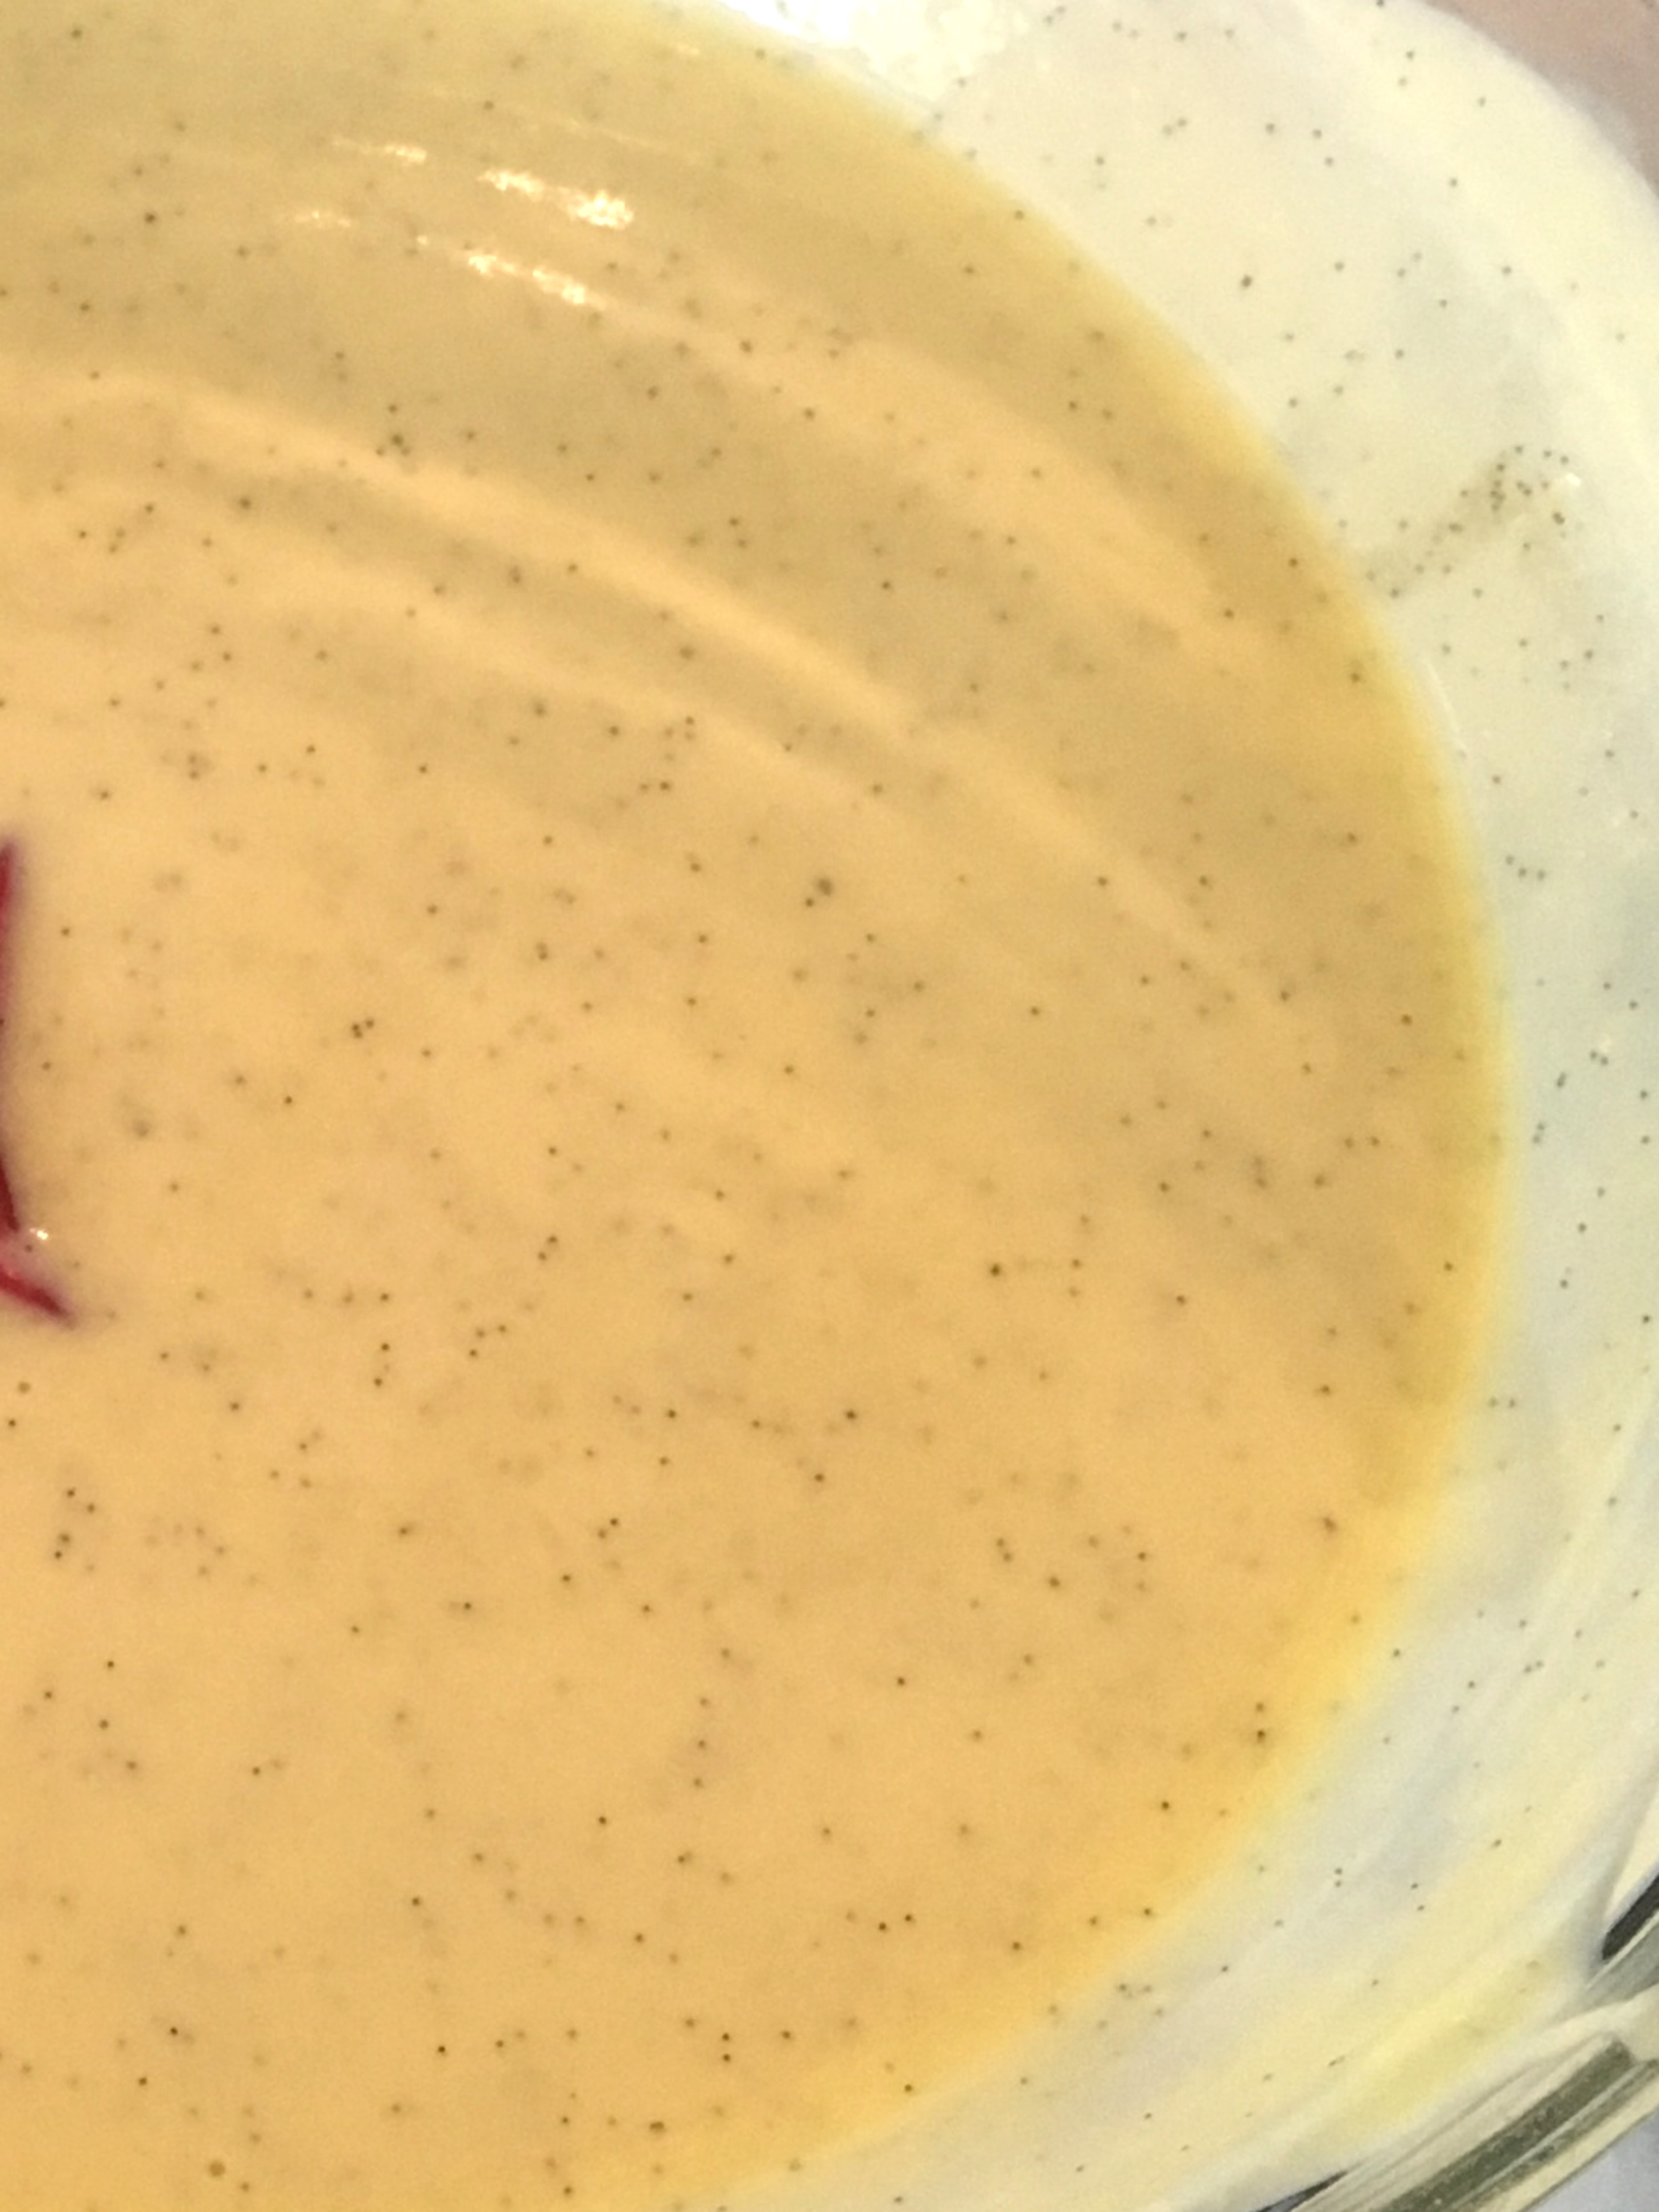
Let your sauce cool in the ice bath for 10 minutes or so, stirring occasionally, until it is cool to the touch and then refrigerate it. Now, what to do with it? Since "Sugar Rush" is all about building up skills, this first recipe isn't really something that you can just eat straight up. I mean, you can, and maybe I did... but maybe you shouldn't. Johnny's next recipe is to use this sauce as a base for vanilla ice cream, which I'll try next and post when I do. But, in the meantime, I used this first batch of vanilla sauce as a topping for a gluten-free maple honey bundt cake. Deee-lish.
Finally, Johnny notes that the cream sauce should be used within 3 days and always tastes better the day after it is made. Kinda of like a soup. A sweet, creamy, vanilla-ey soup.
One recipe down. Many many more to come.
SURVEY SAYS...
VANILLA CREAM SAUCE (CREME ANGLAISE) -- Recipe No. 1
LEVEL OF DIFFICULTY: easy
WOW FACTOR: meh (I know this is an important recipe, but it's not really something you can be like, "Ohmigosh! Look at this bowl of vanilla cream sauce I made today!" and have everyone repost your pictures while drooling all over their phones.)